The Easy Way to Make Homemade Skyr Yogurt (One of the Best Desserts in Iceland)
This article may contain affiliate links. See our disclosure link for more information.
When I was in Iceland a few years ago (on a stopover after a work trip to the Netherlands) I was super excited to try authentic Icelandic skyr yogurt. I love yogurt, quark, and creme fraiche, and I was pretty sure I’d swoon over real skyr…and I was right.
Skyr is so smooth, thick, and creamy. It’s also good for you! Plain skyr is high in protein (like German quark), low in fat, and has little to no added sugar. And it’s super easy to make at home!
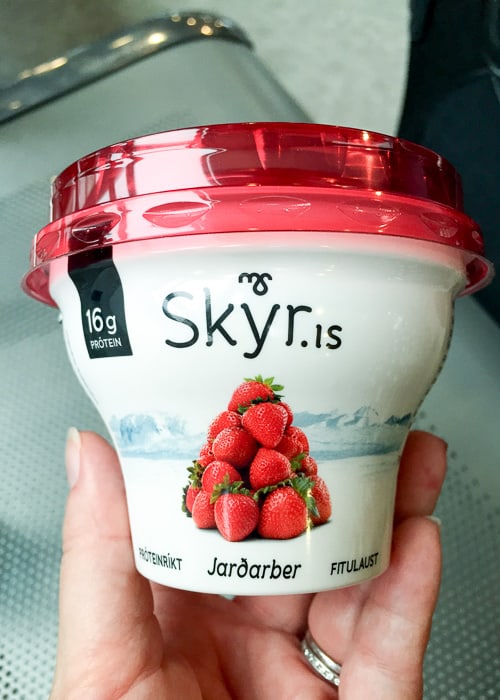
While there are several Icelandic yogurt brands, Siggi’s seems to be the easiest to find in the US (where I live, anyway). I buy skyr once in a while, usually when I’m out running errands and want a quick snack, but it’s pretty expensive for a tiny container. (Below is a photo of some skyr I bought in Iceland.)
It’s a lot less expensive to make skyr at home. All you need are a couple basic ingredients and a little patience. Icelandic yogurt makes a delicious breakfast, snack or dessert!
In this article I share a very simple Icelandic skyr yogurt recipe and show you step-by-step how to make it at home. You’ll never have (or want to) to buy Icelandic style yogurt again!
Contents
What’s Skyr? And What Can You Do with it?
Skyr is a cultured dairy product from Iceland.
You can use skyr in so many things and eat it in both sweet and savory ways. Use skyr in:
- smoothies
- dressings
- dips
- creamy ice pops
- sauces
- in place of sour cream
- cheesecakes
If you’re eating skyr for a healthy breakfast or as a filling snack:
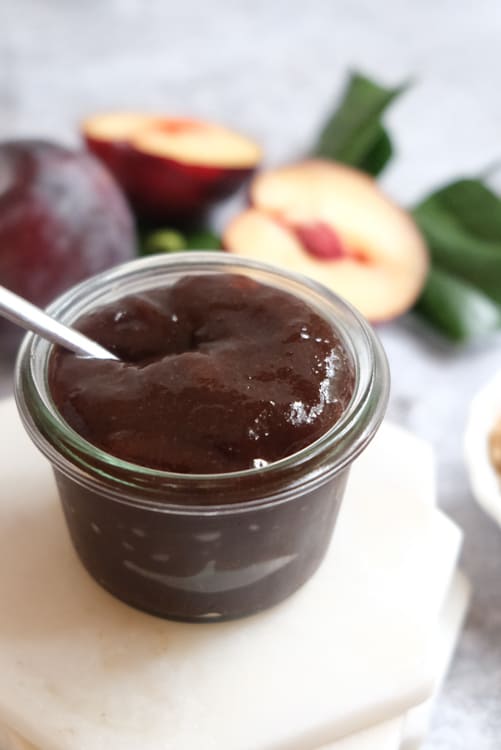
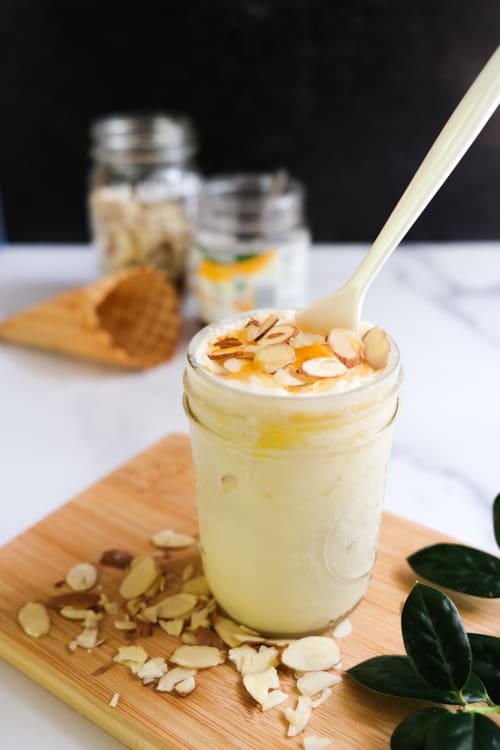
- top with honey, golden syrup, jam or maple syrup
- add fresh berries, kiwi or other fruit
- sprinkle on granola, chopped nuts or chia seeds
- or blend with milk, fresh fruit and honey to make a skyr yogurt drink
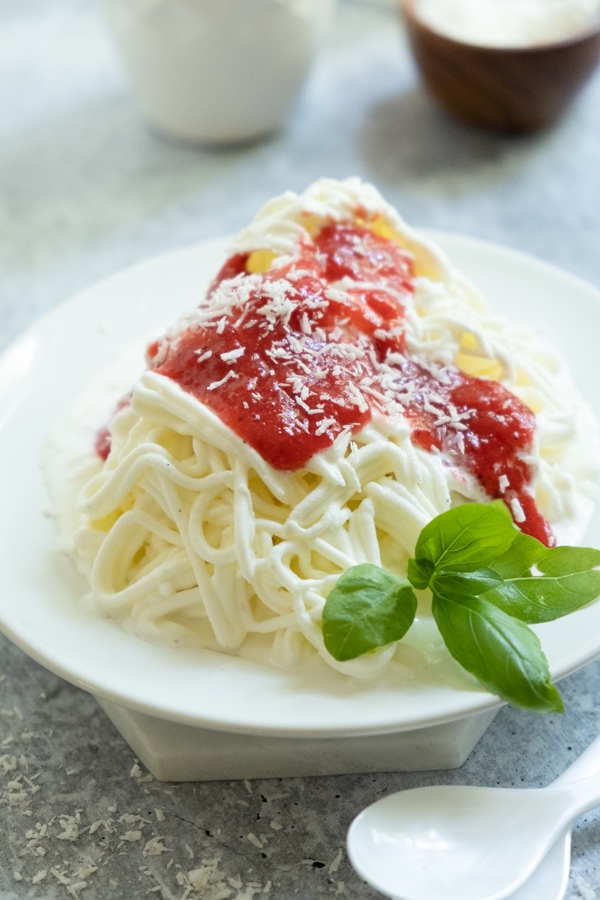
Skyr also makes an excellent healthy dessert:
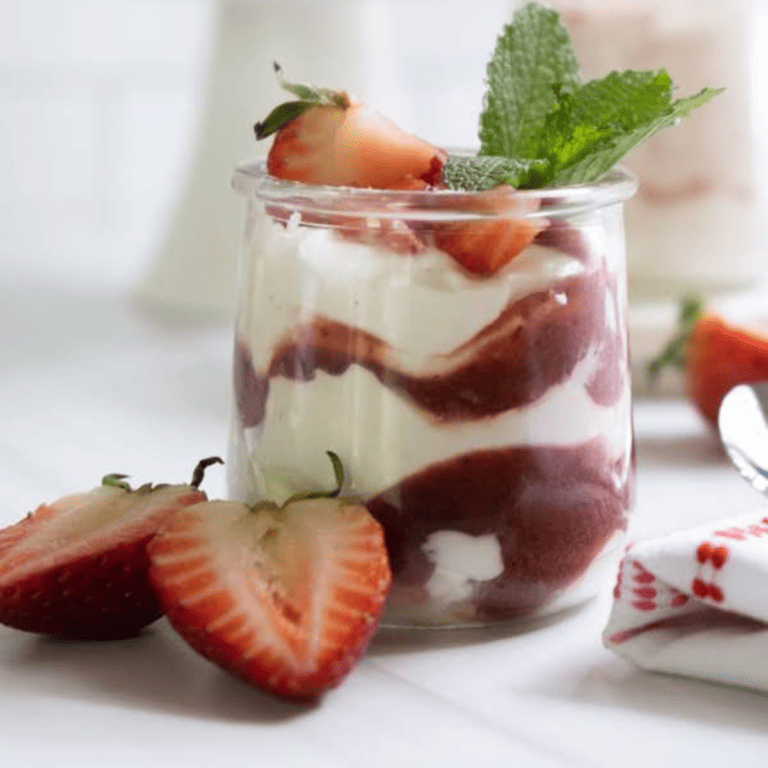
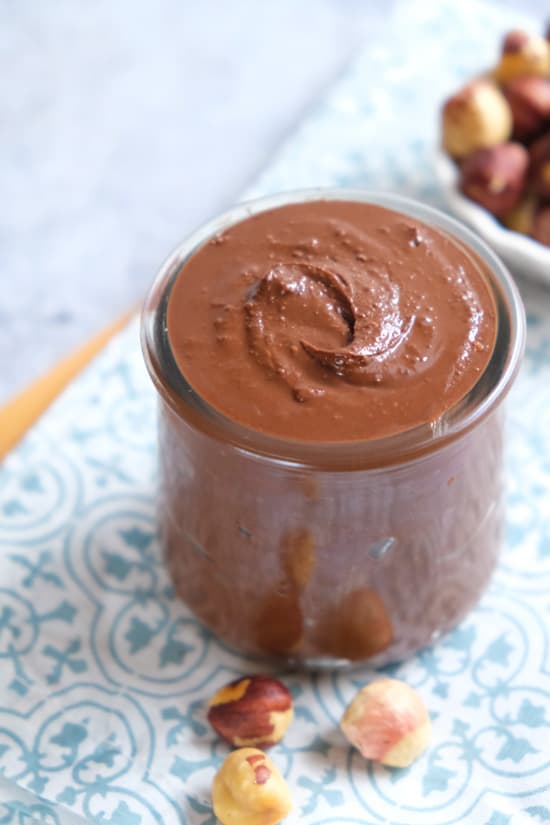
- add fresh fruit, a drizzle of chocolate or berry coulis, and a sprinkle of chopped nuts
- fold in freshly whipped heavy cream and your favorite low-sugar jam into the skyr for a light, fluffy, fruity dessert
- add a sprinkle of vanilla sugar or a drizzle of honey or maple syrup and top with a spoonful of whipped cream
Here’s a fun idea for serving skyr to a crowd: create a skyr bar with all kinds of delicious toppings!
Where Can I Buy Skyr Yogurt?
If you’re wondering where to buy Siggi’s yogurt (the brand I see the most frequently in the US), you’re in luck – I’ve seen it at Whole Foods, Target, and our local co-op. You can probably find Siggi’s at other grocery stores as well.
Why Make Skyr at Home?
While it’s much easier these days to find skyr at your local grocery store, it’s pretty expensive for a small container! I do buy Siggi’s once in a while when I’m out running errands and need a quick, easy, and healthy snack. But for breakfast, snacks or dessert at home, I prefer to save money by making it myself. Plus, you know exactly what’s in your skyr and you can customize it however you want.
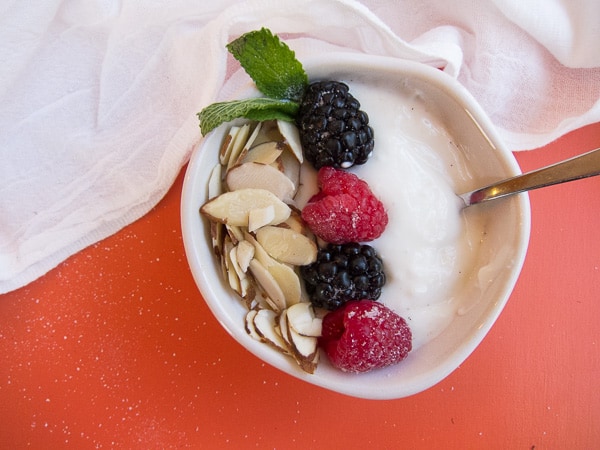
I love eating skyr with honey and fresh berries, a sprinkle of vanilla sugar or a drizzle of maple syrup. Skyr makes a nutritious breakfast, protein-packed afternoon snack, and a healthy and satisfying dessert!
What You Need to Make Skyr
- milk (skim or 1%)
- rennet (either vegetable or animal in liquid or tablet form)
- warm water
- one small container of Icelandic skyr (I use Siggi’s plain or vanilla yogurt)
- heavy bottomed saucepan or pot
- whisk
- candy thermometer
- jar
- cheesecloth or thin tea towel
- patience 🙂
How to Make Icelandic Skyr Yogurt
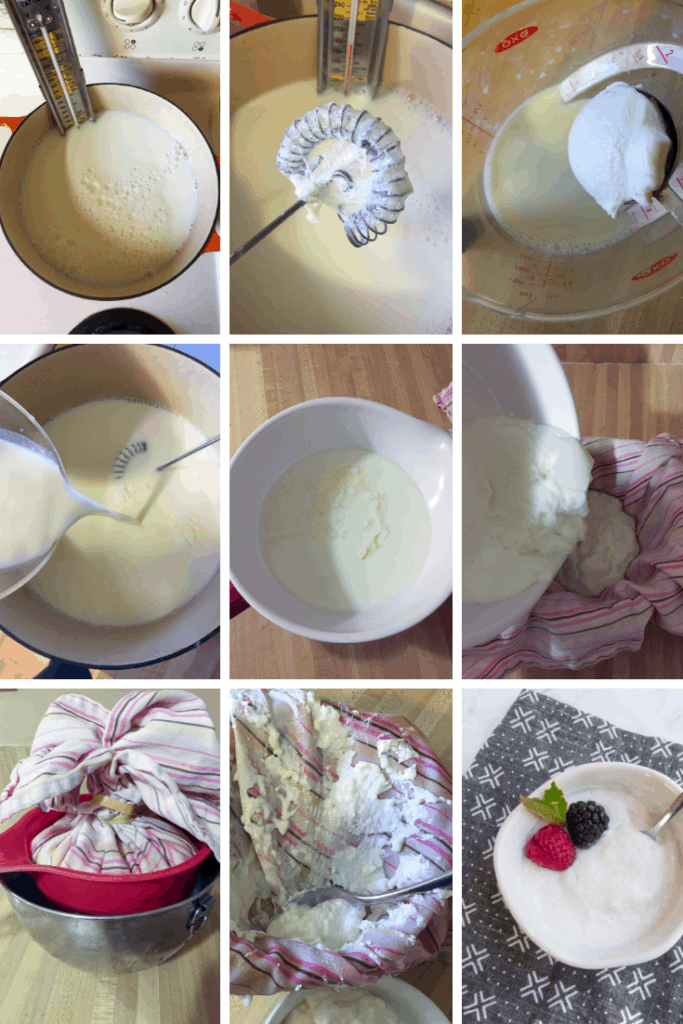
Pour the milk into a heavy bottomed saucepan (I like use my Le Creuset dutch oven), then place a candy thermometer in the milk. Slowly heat the milk over low to medium heat until the milk reaches the scalding point (180F/82C). It’s important to heat the milk slowly and consistently, so don’t turn the heat up or down too much. And definitely don’t let the milk boiling or even simmer!
You want the milk to reach the scalding point without actually scalding the milk. So, you can either let the milk heat up very, very, very slowly over low heat or do a little faster over medium heat.
I’ve tried it both ways. Heating the milk over low heat is a little more hands off because you don’t have to stir it constantly. But it does take quite a long time (like 1.5+ hours) for the milk to heat up and you do still need to stir it here and there.
Heating the milk over medium heat takes less time but you need to whisk the milk frequently to prevent it from scalding. You do still need to heat the milk slowly so it could take 30 minutes or more to reach the scalding point.
If the milk does scald a bit, that’s ok. Just whisk the milk carefully to prevent scraping up the scalded bits on the bottom of the saucepan.
Tip: if after making your skyr your saucepan looks like this:
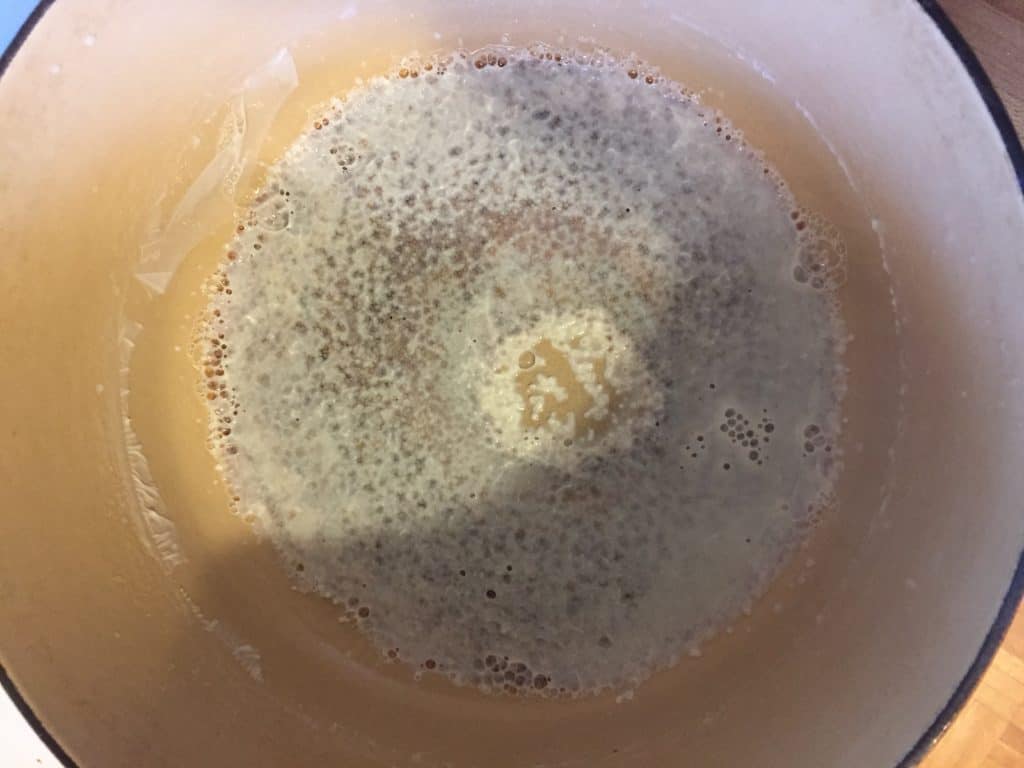
Don’t worry! Try this: pour a little water and baking soda into the saucepan and let it boil. Use a wooden spoon to scrape the scalded milk from the pan. I almost always have to do this after making skyr.
As soon as the milk has reached the scalding point, take the saucepan off the stove and let the milk cool to 110F (about 30 minutes). Remove any skin that has formed.
Then pour 1 cup of the cooled milk in a bowl and add 2 tablespoons of Icelandic skyr. I typically use Siggi’s Icelandic skyr. Both plain and vanilla flavors work in this recipe. Whisk the milk and skyr together and then pour it back into the saucepan.
The next step is to combine the rennet with the warm water and stir into to the milk. You can use either animal or vegetable rennet in liquid or tablet form. I found Junket vegetable rennet tablets at Whole Foods a while back and used 1/4 tablet in my Skyr. It works fine but I’m wondering if liquid rennet would give my skyr an even silkier texture.
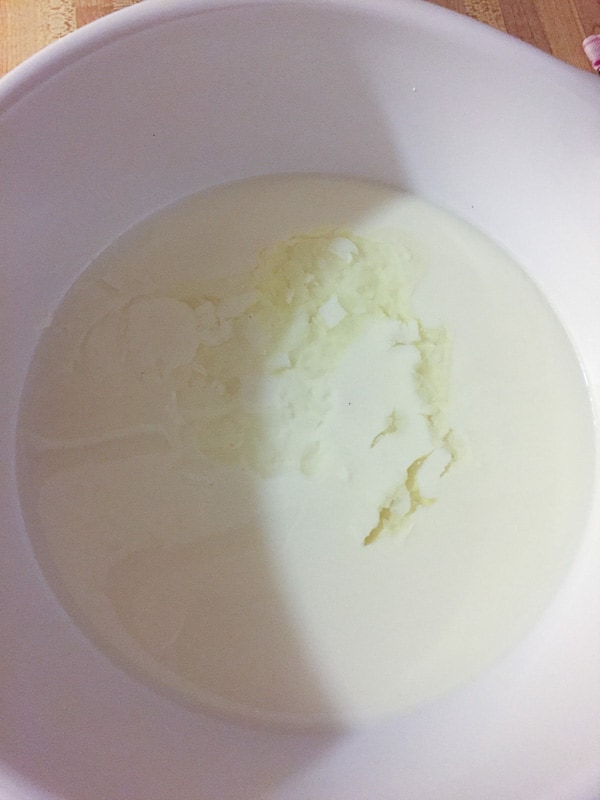
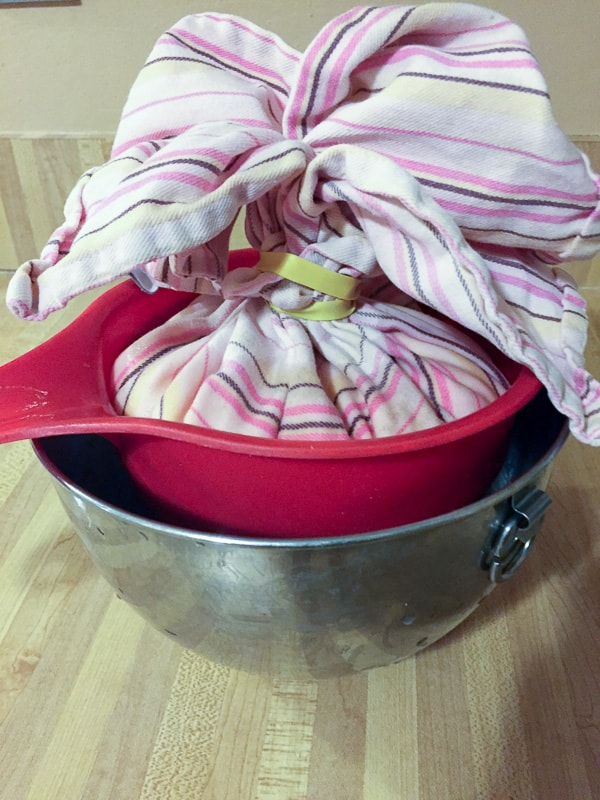
Place a towel over the saucepan (or pour skyr into a bowl or jar and top with a towel) and let the milk sit in a warm spot for 12 hours. During this time, the curd will separate from the whey and the skyr will look like this:
After the curds and whey have separated, the next step is to drain off the whey. My method for doing this is similar to what I do when I make German quark. I first place thin, clean tea towel in a colander, then I place the colander in a bowl. I use this cheap plastic colander (that my husband has had since college!) because it fits in the bowl but you can also use a metal colander.
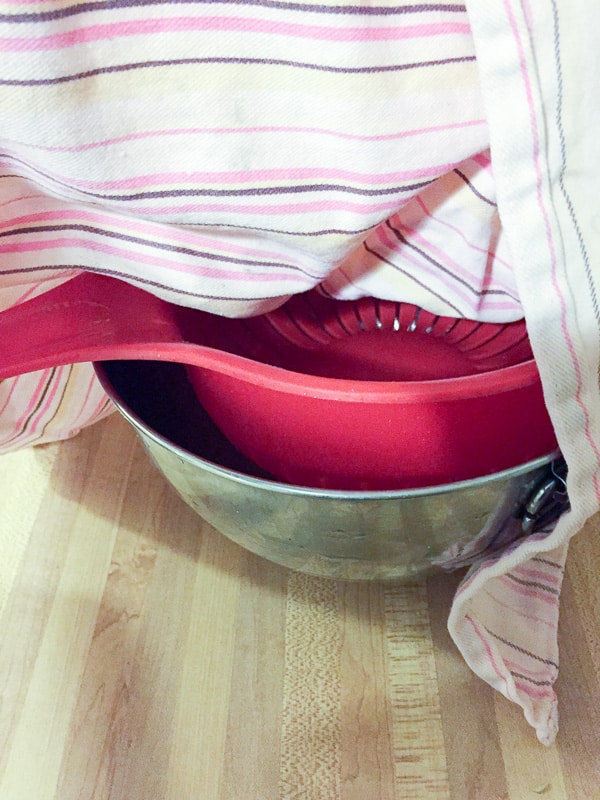
Then I carefully pour the skyr into the colander.

Then I gather the towel together, tie it up with a rubber band, and place the skyr in the fridge for several hours to let the whey drain off.
Here’s what the skyr looked like after the whey (about 16 ounces!) had drained off.
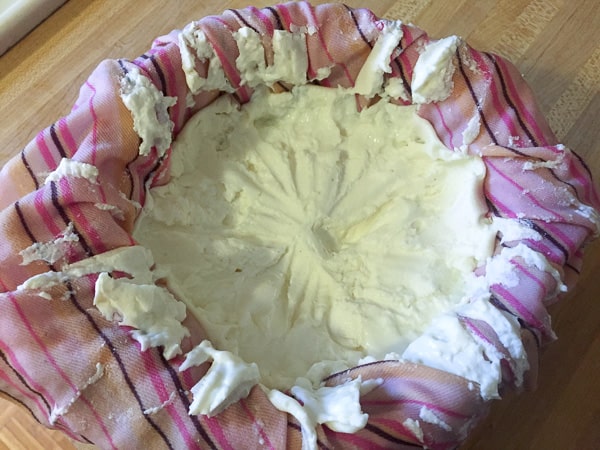
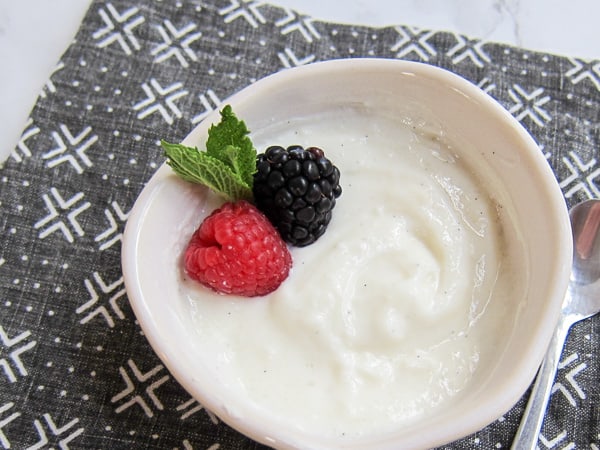
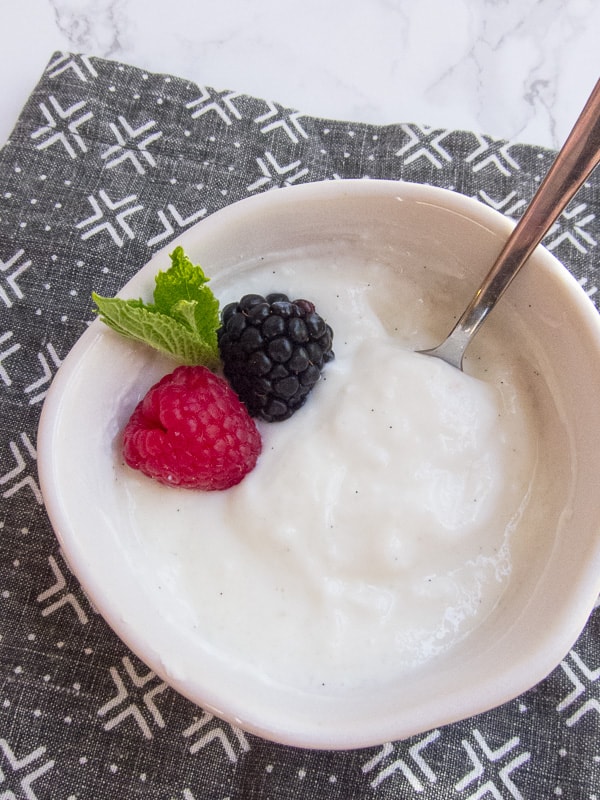
Spoon the skyr into a bowl and stir vigorously to get any lumps out. You’ve now got healthy, delicious, plain skyr!
Skyr will last about 4 weeks in the fridge. You can eat it plain, with honey, jam or fresh fruit and vanilla sugar (I added vanilla sugar to the skyr in these photos). Be sure to save a couple tablespoons of your current batch of skyr to use in your next batch!

Icelandic Skyr Yogurt
This nutritious high-protein yogurt from Iceland is easy to make at home and easily turns into a delicious and healthy dessert!
Ingredients
- 1/2 gallon milk , (skim or 1%)
- 2 Tbsp Icelandic yogurt , (I used Siggi's plain or vanilla)
- 1/8 cup warm water
- 2-5 drops liquid rennet, (or 1/4 of a rennet tablet)
- sugar, vanilla, fruit, granola, nuts, etc. (optional)
Instructions
- Heat milk over low heat until it reaches 180F/82C. Do this slowly and stir the milk frequently. It could take an hour or so to reach the desired temperature.
- Once the milk has reached 185F take it off the burner and let it cool to room temperature. It could take 30 minutes or so for the milk to cool. Remove any skin that has formed on the milk.
- Mix 1 cup cooled milk with the skyr and then pour back into the milk.
- Dissolve the rennet in the water and then pour into the milk.
- Cover milk with a towel and let it sit in warm place for 12 hours.
- When the whey has separated from the curd, place a clean tea towel in a colander and place that in a bowl (see photos above). Pour skyr into the colander. Tie the ends of the tea towel together and place bowl in the fridge for several hours until the whey has drained off the skyr.
- Spoon the skyr into a bowl and mix vigorously with a spoon until smooth. Add desired sweeteners, flavorings, and toppings. Enjoy!
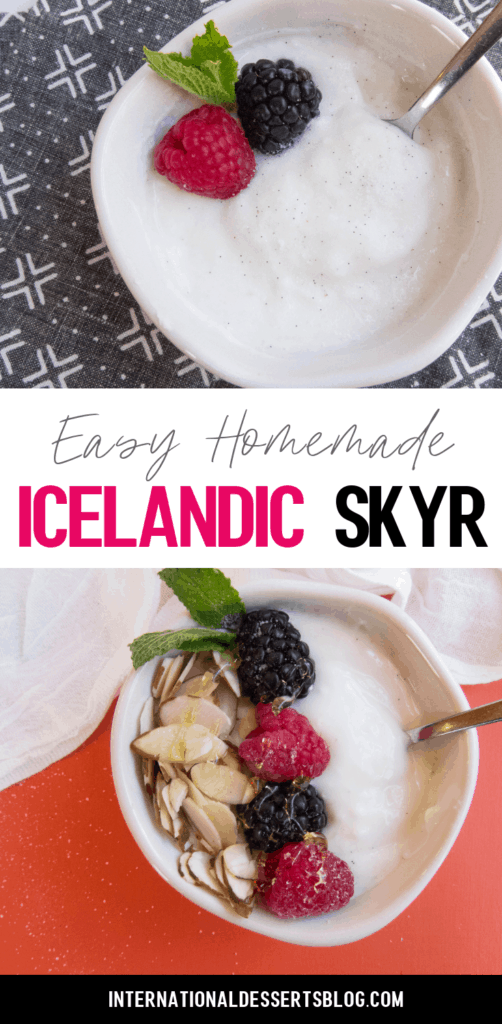
Pin this For Later!
What’s Next?
- How to spend 48 hours in Iceland
- How to find the perfect travel purse
- The best desserts & sweets in Amsterdam
- How to make German quark
- Best Icelandic chocolate

I spent 15 min reading, and then in the end, in the ingredients you need a cup of Icelandic Skyr !!! So you need Skyr to make Skyr !!! Wtf ??? I don’t have it !! That’s why I’m looking for a recipe in the first place !!! And the article goes on like it’s normal !!!
Yep, you need Skyr cultures in order to make Skyr, just like you need yogurt cultures to make yogurt (to make yogurt you start with yogurt, same thing with Skyr). You can probably buy actual Skyr cultures somewhere but it’s a lot more difficult than buying a container of Skry at the grocery store to make homemade Skyr!
@MindBlown, Nah!! You don’t have to use skyr just use a high quality yogurt like sigi’s – it won’t have the same bacteria as skyr but it will pretty much taste the same!! If your going for taste and texture??!! Keep in mind whatever your starter has or doesn’t have is what your batch will have!! I always use vanilla starter bc I always make vanilla! I’ve used berry,lemon and other flavors in a pinch and your batch will “slightly” taste like the starter flavor you use.Make sure you use one you like!lol
@Cate, International Desserts Blog, You can actually get yogurt cultures in a powder form.
https://yogourmet.com/en/usa/product-details/original-yogurt-starter/
That’s great to know! I’ll check it out.
Great! Did half gallon of whole milk and I used junket ( lower strength rennet but easier to find ie: wholefoods and most grocery stores in canning aisle) dissolved one and a half tablets in 3 TBS cool distilled water. Let her go 10 hours then drained. I also added 1/4 cup of sugar and 1 tsp vanilla to milk before initial heating. I know skyr has different/more bacteria than other yogurts but I’ve made it with sigi’s regular yogurt and I couldn’t tell the difference.
..adding the “rennet” is what really separates it from regular yogurt. So if you can’t get a skyr starter then don’t sweat it just m.o …I make ALOT of yogurt….ALOT! lol
Would it be possible to use powdered skim milk? then you could heat the water quickly to the desired temperature, add the powder and continue without all the time stirring and waiting.
Hmmmm…I’m not sure! I haven’t tried it with powdered milk, but my guess is that fresh milk works the best. I’ve tried making other things using powdered milk or powdered buttermilk, thinking I’d speed up the process, and it didn’t work at all. If you give it a try, let me know how it works!