Easy Clotted Cream Ice Cream Recipe
This article may contain affiliate links. See our disclosure link for more information.
Looking for a new homemade ice cream recipe that doesn’t require an ice cream maker? Want to kick your basic vanilla ice cream up a notch? Got some left over clotted cream? Try this easy no churn clotted cream ice cream recipe!
If you want to go right to the clotted cream ice cream recipe and tutorial, scroll aaaallllll the way to the bottom. If you want to read about why this is a no churn recipe and about my summer of no churn ice cream experiments, keep reading!
All summer I’ve been experimenting with no churn ice cream, gelato, and sorbet recipes.
For years I’ve been wanting an ice cream maker but I just never bought one because I typically don’t buy one-use kitchen items. But this year I decided that it would be the summer of ice cream! My plan was to test out both no churn and ice cream maker recipes…but, alas, things didn’t turn out the way I’d expected!
Originally I planned to get a KitchenAid ice cream maker attachment since it would be easy to store due to its smaller size. But after reading many disappointing reviews, I opted for an entry level Cuisinart ice cream maker with many good reviews.
Two weeks after ordering, my ice cream maker arrived in a city an hour away from me…and then was called back to somewhere in Arizona for several weeks. The store I ordered from couldn’t tell me when — or even if — the ice cream maker would arrive, so I canceled my order and immediately ordered one from different store.
Then, surprise! A week after I got the ice cream maker from the other store, the original one I thought I’d canceled arrived on my doorstep — turns out my order had not been canceled.
I returned one of the ice cream makes and eagerly unboxed the other. After 5+ weeks waiting for my ice cream maker, I was SO excited to finally make churned ice cream!
Aaaannnd…then the ice cream maker broke before I could even make my first batch.
Womp womp, sad face. I returned that ice cream maker and am back to no churn recipes. For now, anyway! Maybe I’ll try again next summer. The good news, though, is that you should be able to take this no churn clotted cream ice cream recipe and make it in an ice cream maker if you have one.
Ok, let’s talk about making no churn ice cream!
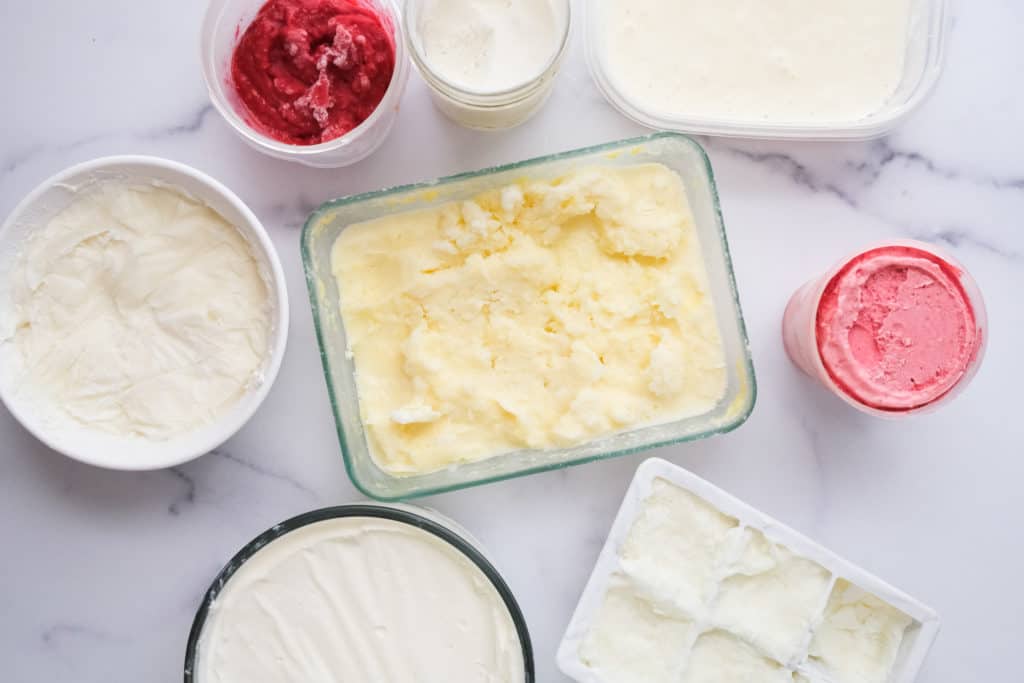
My ultimate goal is to create ice cream recipes based on the flavors of the most popular recipes on the IDB (they’re almost finished). But first, I wanted to test out several base recipes before adding the flavors. So, for all of these test recipes I just made plan vanilla ice cream to keep things consistent. After I chose my favorite base recipe I made it a few more times with the clotted cream. Yes, I made a lot of ice cream this summer! The photo above shows you just a few of my ice cream experiments.
Round 1
The first method I tried was a super common one: heavy cream whipped to stiff peaks + sweetened condensed milk + pinch of salt + vanilla extract. It was super easy to make and the batch with the clotted cream toned down the sweetness of the condensed milk. But without the clotted cream, I didn’t love the texture or the high level of sweetness with this recipe.
Round 2
For the second round I tried heavy cream whipped to stiff peaks + sweetened condensed milk + pinch of salt + vanilla extract + milk. I made a batch with canned sweetened condensed milk and, using a couple tips from a reader, a batch using homemade sweetened condensed milk.
I couldn’t tell any noticeable difference in taste between the canned vs homemade condensed milk batches of ice cream but since the condensed milk was so easy to make, I’ll probably go that route again, because I like making things from scratch. Overall, this method was easy, the ice cream had a nice texture, and it tasted good. Adding the milk made a big difference.
Round 3
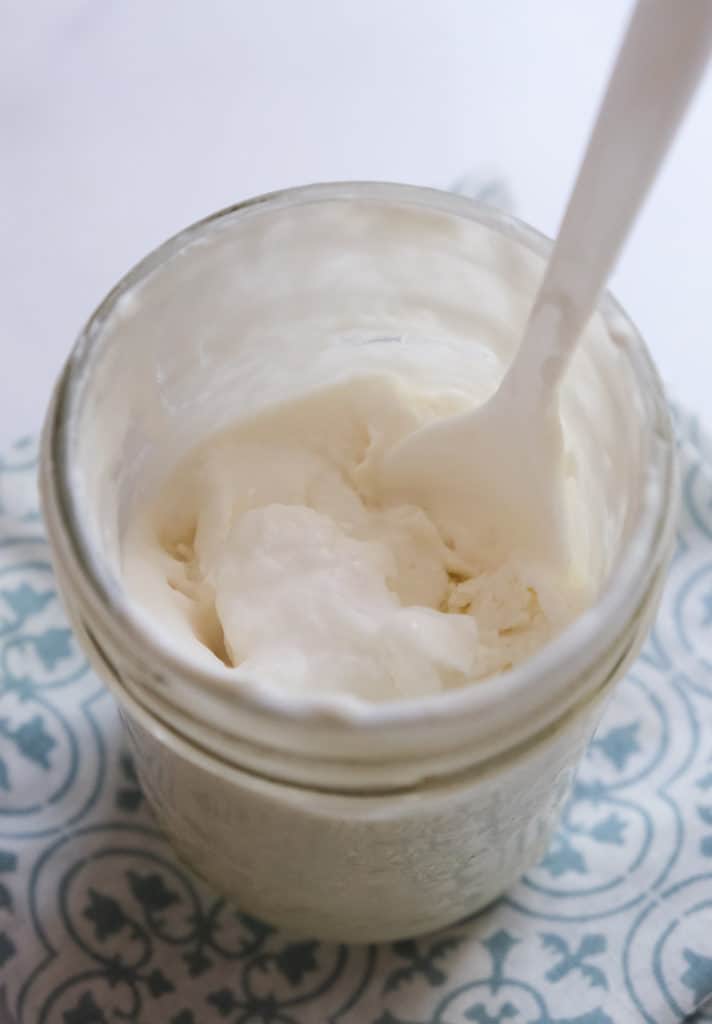
This batch was the easiest by far and is perfect for making individual servings or if you want to try out a variety of flavors or sweeteners. For this round I poured heavy cream into a small mason jar, added a sweetener + pinch of salt + vanilla extract. Then I put on a tight lid, shook the jar several times until the cream had thickened (just about doubled in volume), and put it in the freezer for a couple hours.
I liked this method because it was just so easy. I didn’t even measure anything after the first time – I just eyeballed it and taste-tested before popping it in the freezer. And because the portions are small, the ice cream doesn’t take long to freeze. So you could make up a couple jars before you get dinner going and have ice cream for dessert. Plus, you can eat it right out of the jar!
For this ice cream making method I tried several sweeteners: white sugar, honey, golden syrup, and monkfruit sweetener. My favorite was golden syrup but they were all quite good. Brown sugar, raw sugar, maple syrup or agave would also work. The monkfruit sweetener changed the texture of the ice cream a bit – it wasn’t quite a smooth as the others – but it still had a good flavor.
Round 4
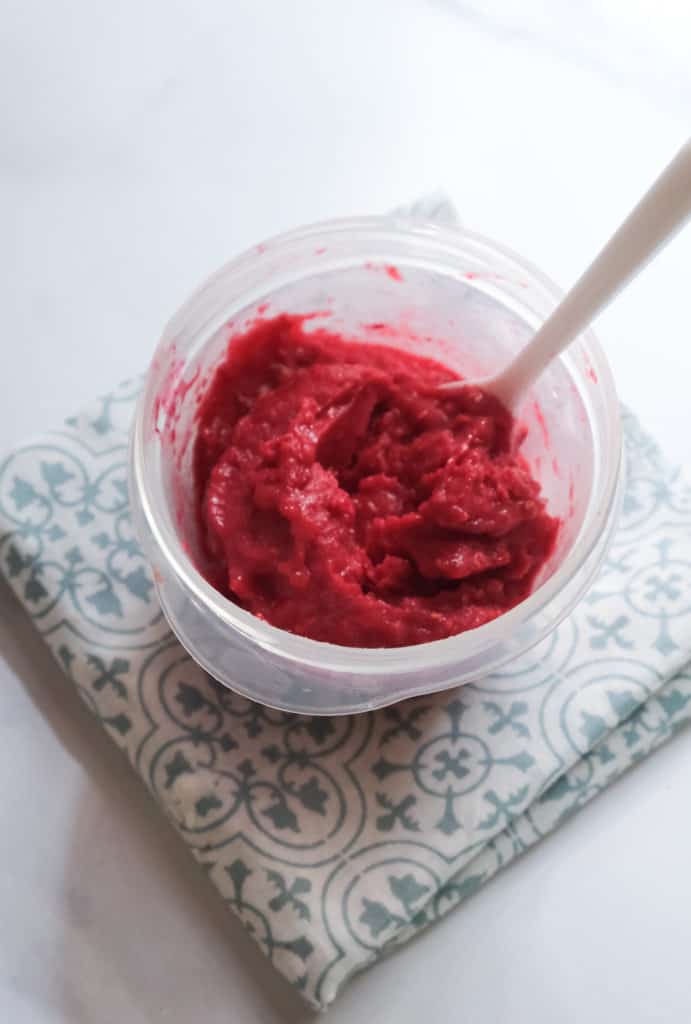
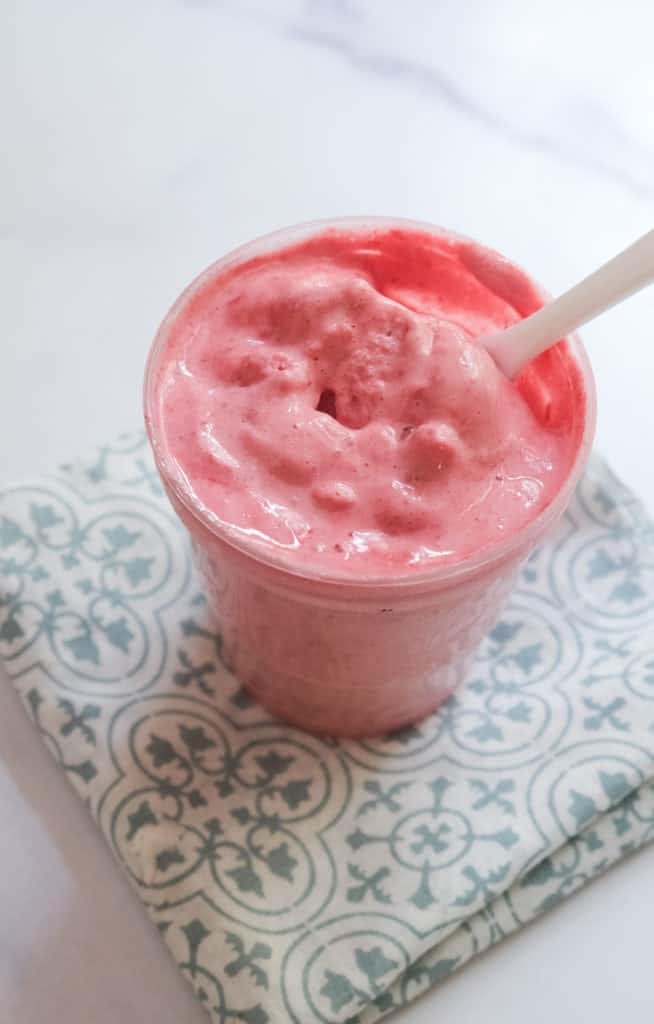
The next method I tried was sour cream + sweetened condensed milk + pinch of salt + vanilla. This ice cream definitely tasted like sour cream. It wasn’t my absolute favorite but I did like the smooth texture and with the right add-in or topping (I’m thinking fresh raspberry sauce, lemon curd or similar) it would be a delicious alternative to the typical sweet ice cream. Aaron (my husband) liked this one a lot.

Round 5
Then I tried two versions of crème frâiche ice cream using fresh, homemade crème frâiche. I first tried crème frâiche + honey + pinch of salt + vanilla extract. I didn’t add enough honey and so it just froze into a solid cube and just wasn’t sweet enough – fail! It might have been ok with more honey but like the sour cream ice cream it would have a strong crème frâiche flavor.
The second version I made was delicious! I added some crème frâiche to heavy whipping cream + honey + pinch of salt + vanilla extract. This version was so smooth and had a nice but not overpowering crème frâiche flavor. The honey added sweetness and a little flavor. I topped the ice cream with fresh raspberry sauce and that was perfect! I’ll definitely make this again.
Other Rounds…
I also made no churn gelato, an easy sorbet, a creamy sorbet, and frozen yogurt but I’ll leave those for another blog post. Ok, now let’s talk about what you need to make this easy clotted cream ice cream recipe!
Contents
Ingredients You Need to Make Clotted Cream Ice Cream:
- heavy cream (use the highest quality you can)
- milk (I used 2%)
- clotted cream (store bought or homemade)
- sweetener — I used golden syrup in one batch and sweetened condensed milk in another batch but you could use honey, maple syrup, sugar or a sugar alternative – do note, though, that the sweetener you choose may change the ice cream flavoring a bit and if you use a sugar alternative the texture might change a bit, too)
- vanilla extract (if you can use a vanilla bean or vanilla paste – even better!)
- salt
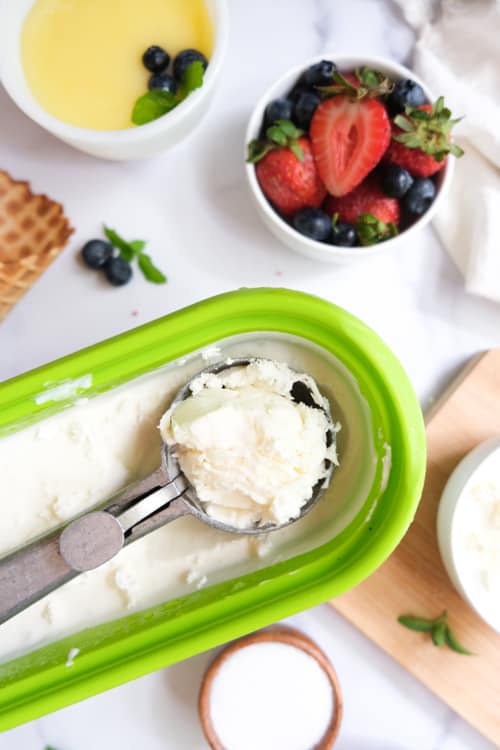
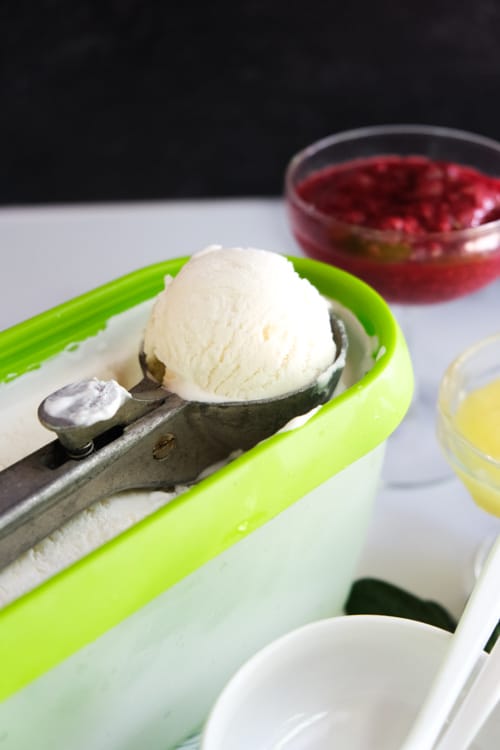
- any toppings you’d like (I had homemade raspberry sauce and lemon curd and both were delicious!)
You can buy clotted cream here.
Or make it at home using my clotted cream recipe and tutorial here.
You can buy golden syrup here.
Or make it at home using my golden syrup recipe and tutorial here.
Kitchen Tools You Need:
- medium sized mixing bowl
- whisk, hand mixer or stand mixer (I used my stand mixer)
- spatula
- scale or measuring cups and spoons
- ice cream container with lid
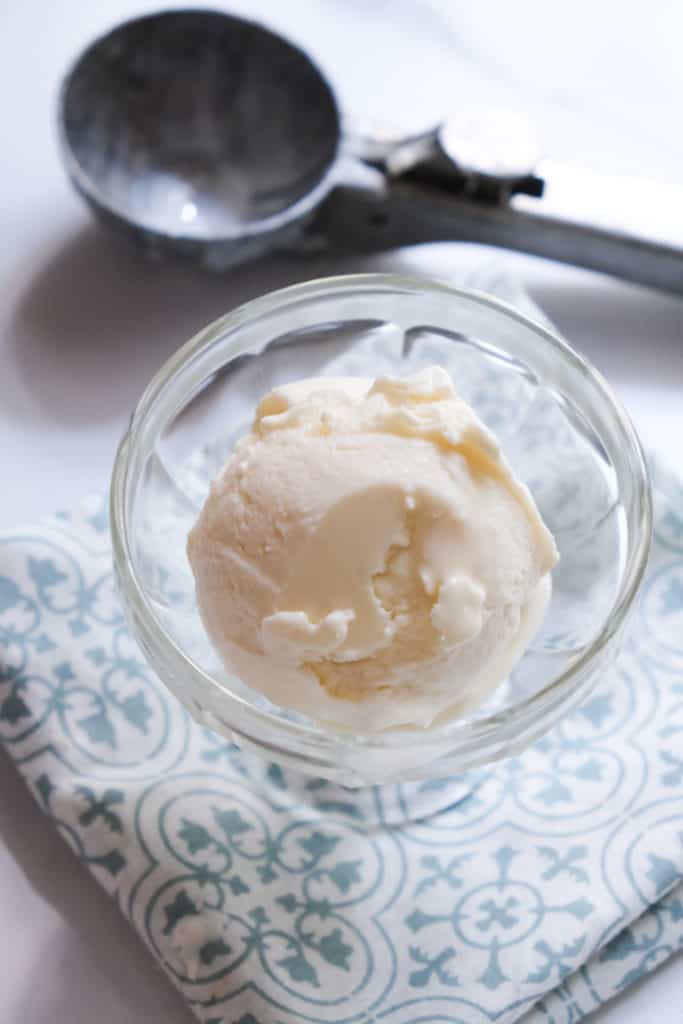
- ice cream scoop & bowl
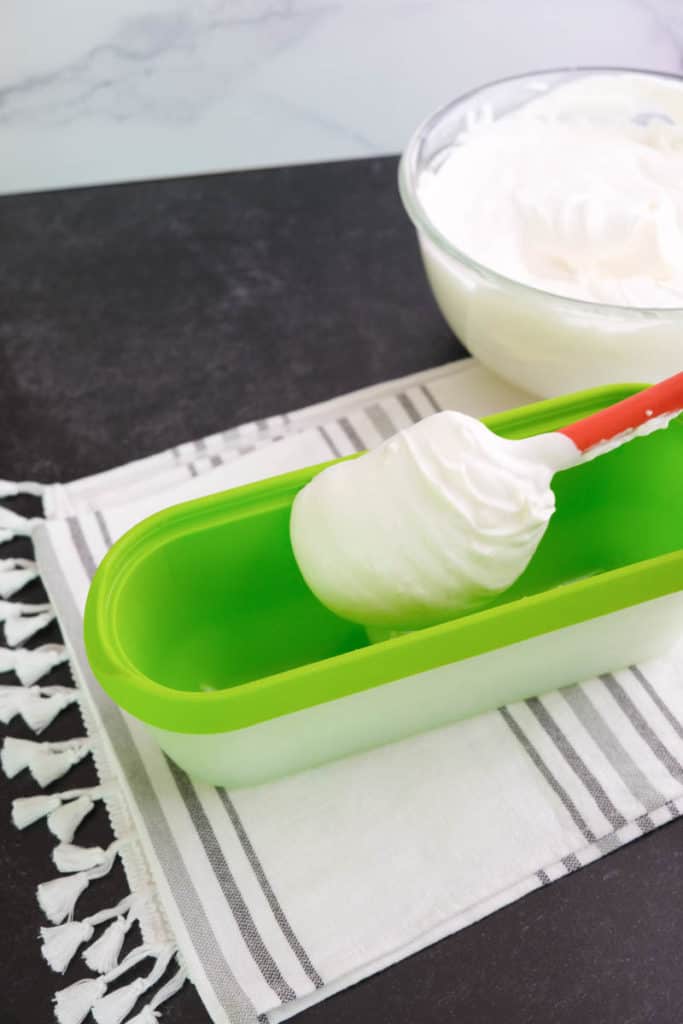
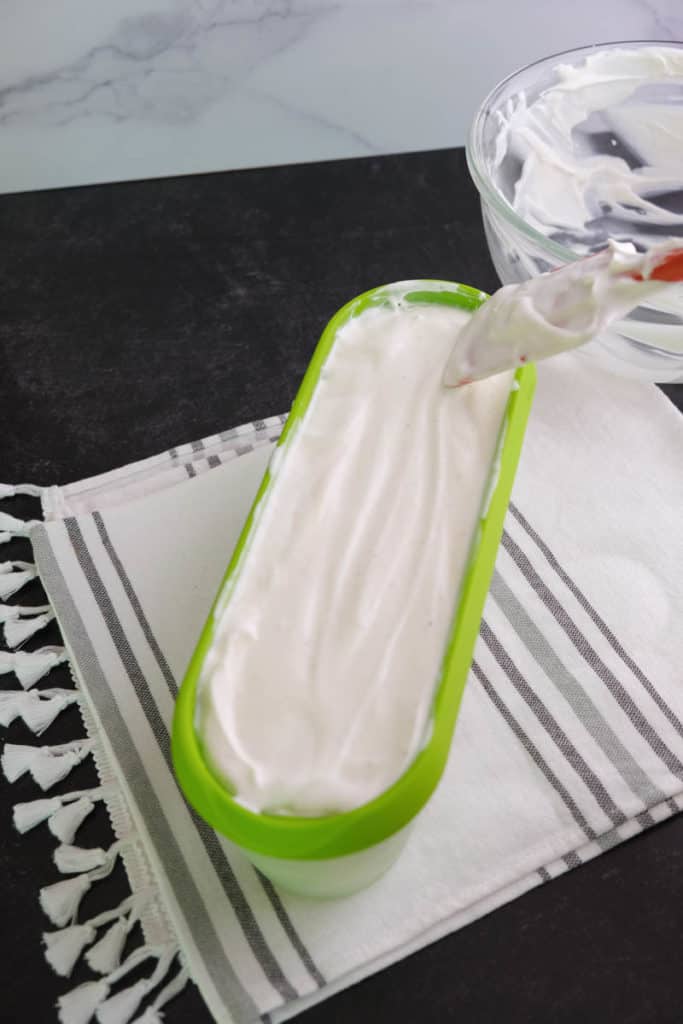
Let’s Talk About Ice Cream Containers
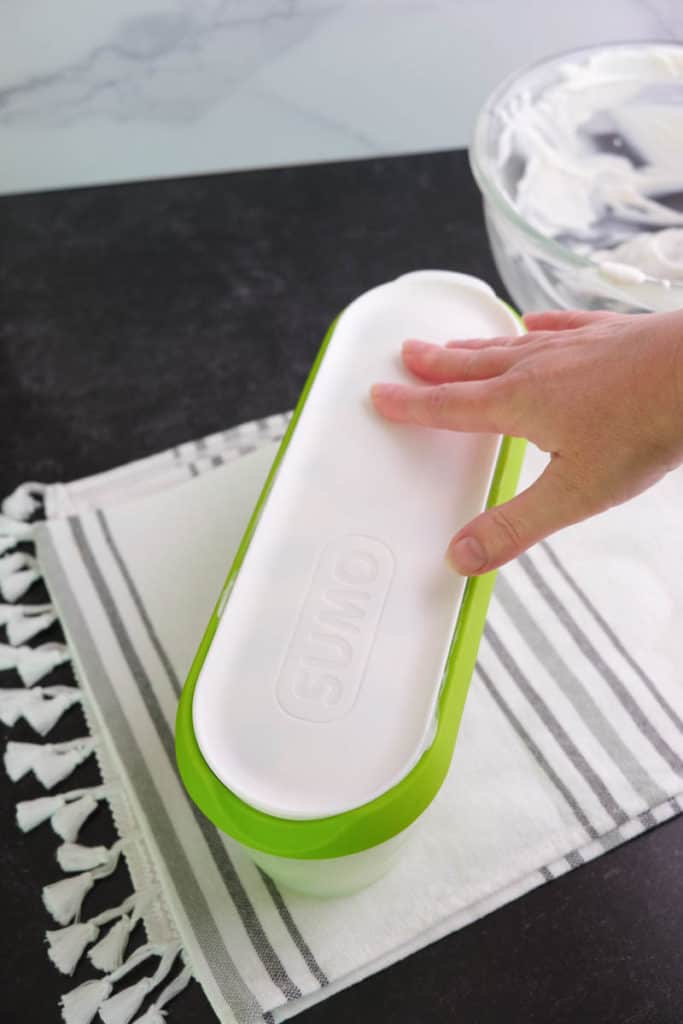
Once you’ve prepared your ice cream you’ll need something freezer-safe to store it in! After looking at various options, I decided to buy this SUMO ice cream container for three reasons.
First, the narrow width easily fits in my freezer (depending on your freezer it might even fit in the door). Second, it has a lid! I like not having to ensconce my ice cream in plastic wrap…and then try to unwrap and rewrap it when I want a scoop of ice cream. Third, because of the long shape I can get a good scoop — much better than when I use a square or round container.
What I don’t like? The colors. I wasn’t in love with any of them. I don’t even know why I chose green. And the lid could fit just a bit better. But, overall, the pros outweigh the cons for me and I’ve been happy with it.
Click here to check out the SUMO ice cream container.
In the past I’ve used glass pyrex containers with lids (like this one) and various plastic containers with lids. You can also get reusable round pint-size containers and mini containers (portion control!).
I love the way vintage bread pans look but I haven’t yet found one with a good, tight lid. So for now I’m happy with my SUMO.
Random aside…see that ice cream scoop in the above photo? It’s about as old as I am! Last time I was in Oregon visiting my parents I saw that my mom was going to give it away so I brought it home to North Carolina. I have a lot of fond memories of making homemade ice cream (using a hand crank, ice, and rock salt – my parents made us work for our ice cream!!) attached to that vintage ice cream scoop.
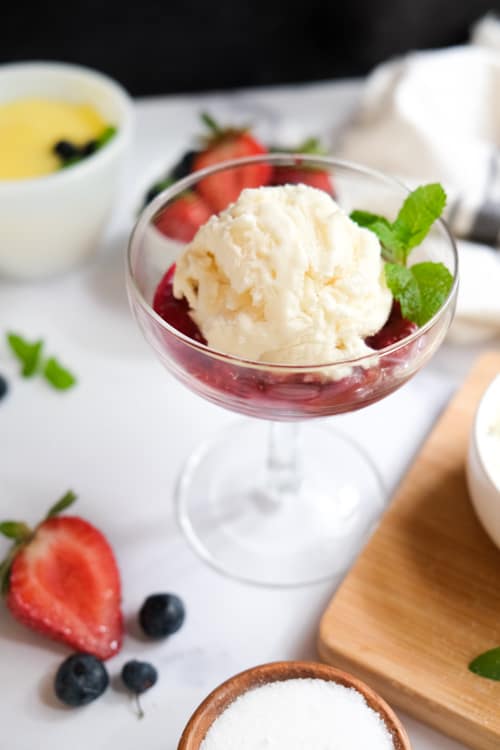
How to Serve Clotted Cream Ice Cream
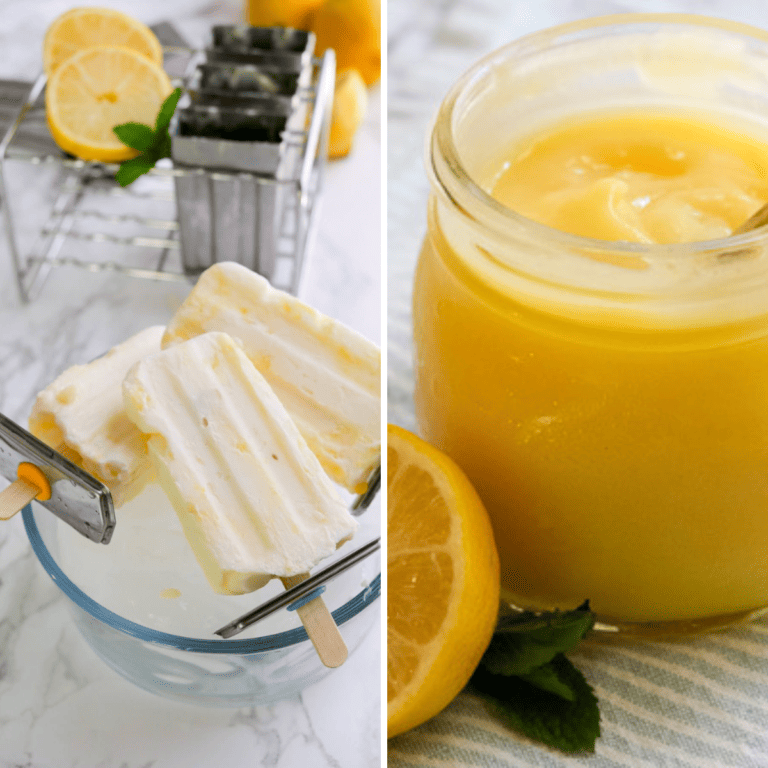
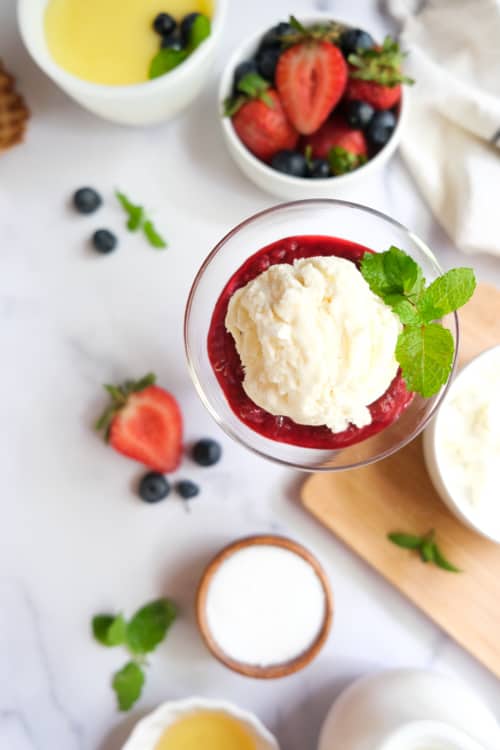
- Top with fresh, homemade raspberry sauce or lemon curd (see my note in the section below about adding lemon curd to the ice cream before freezing it – OMG, so good!).
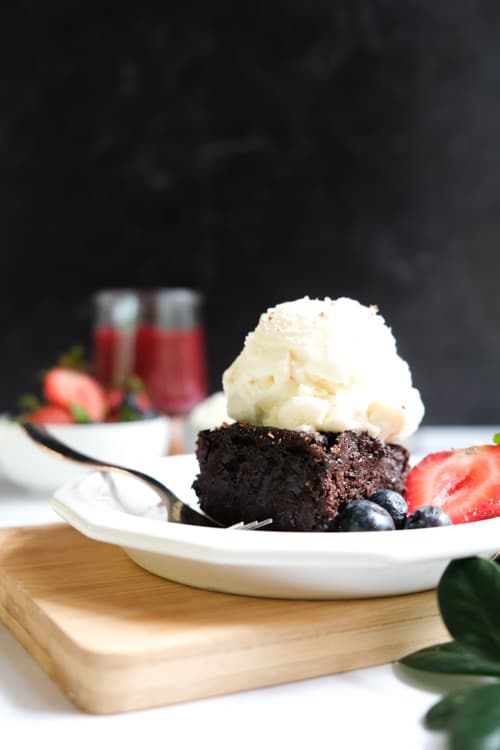
- Enjoy a scoop on brownies, cobbler, pie or German Rote Grütze, German Plum Cake or German Apple Custard Cake.
- Pour fresh espresso over the top for an affogato.
- Add to root beer for a root beer float.
- Top with fresh berries.
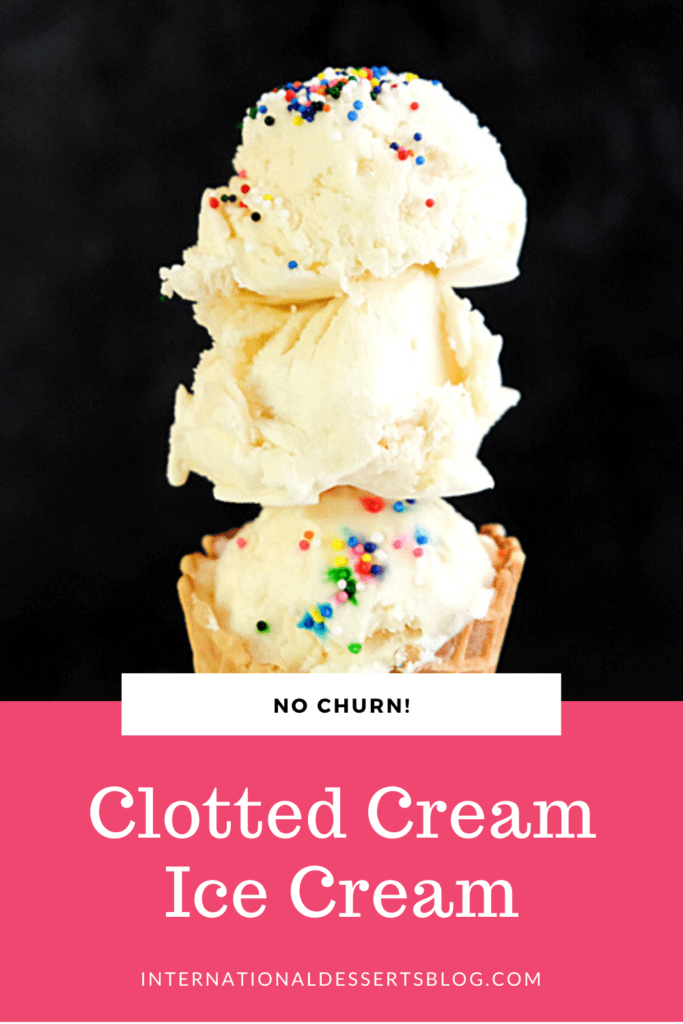
- Enjoy a scoop in a waffle cone (sprinkles optional).
How to Make Clotted Cream Ice Cream
You’ve got your ingredients, your kitchen tools, and your ice cream container. It’s time to make clotted cream ice cream! But first, a few notes:
- If you want to use homemade clotted cream, be sure to make it at least 24 hours before you want to make ice cream.
- I’ve made clotted cream ice cream using sweetened condensed milk and golden syrup. I liked the extra flavor contributed by the golden syrup but either one will work. You could also use sugar, honey or other sweetener.
- Use a vanilla bean instead of vanilla extract if you can! You’ll love the flavor.
- This recipe is no cook, no churn, and also has no eggs.
- I wasn’t able to try it out but this recipe should work fine in an ice cream maker.
- Tip: add homemade lemon curd to taste before pouring your ice cream into your container. OMG, lemon curd clotted cream ice cream is divine!!
Alright….the first step is to whip the cream to stiff peaks. I use a stand mixer for this but a hand mixer or even just a whisk will work (if you want an arm workout).
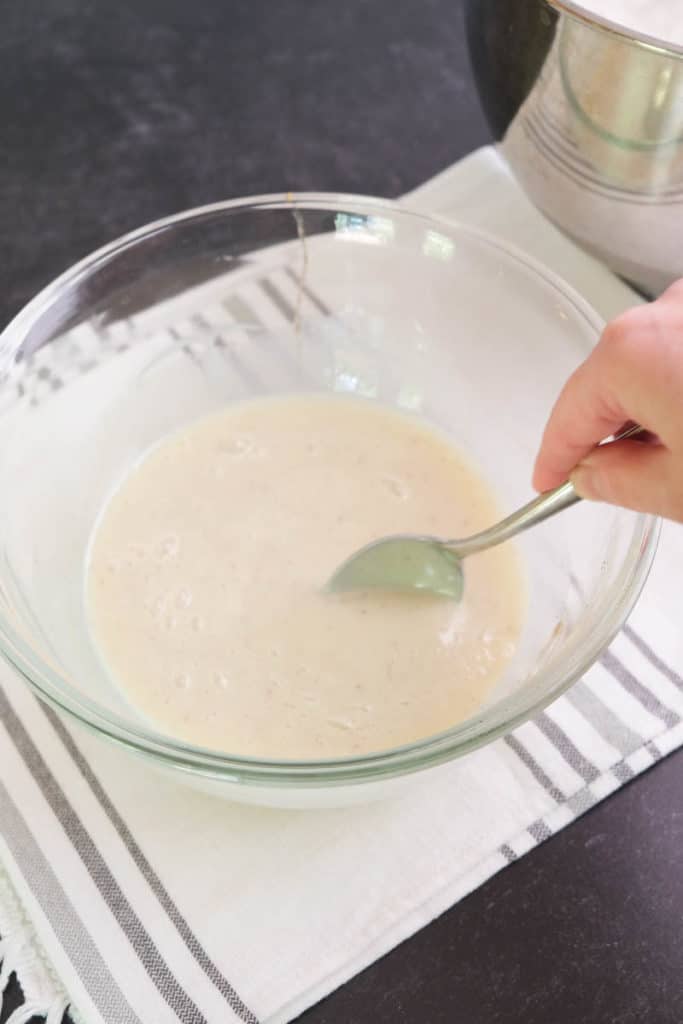
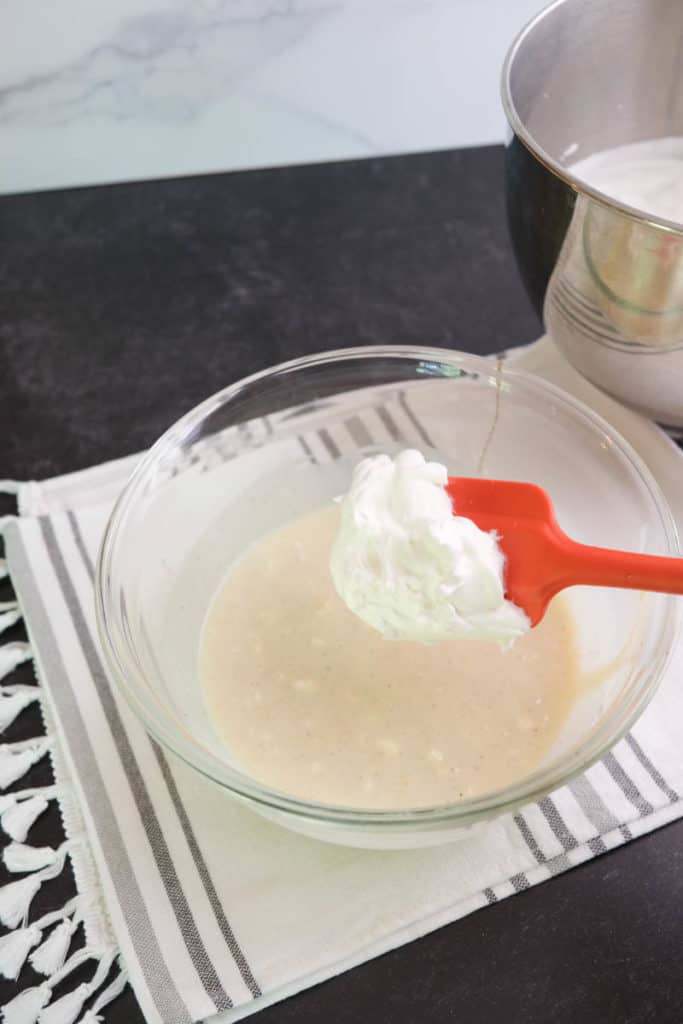
While the heavy cream is being whipped, add the milk, sweetened condensed milk (or golden syrup or whatever sweetener you’re using), salt, and vanilla to a medium sized mixing bowl. Stir well to combine. Since there are no eggs in this recipe, I recommend that you taste test it. Add more salt, vanilla or sweetener as needed.

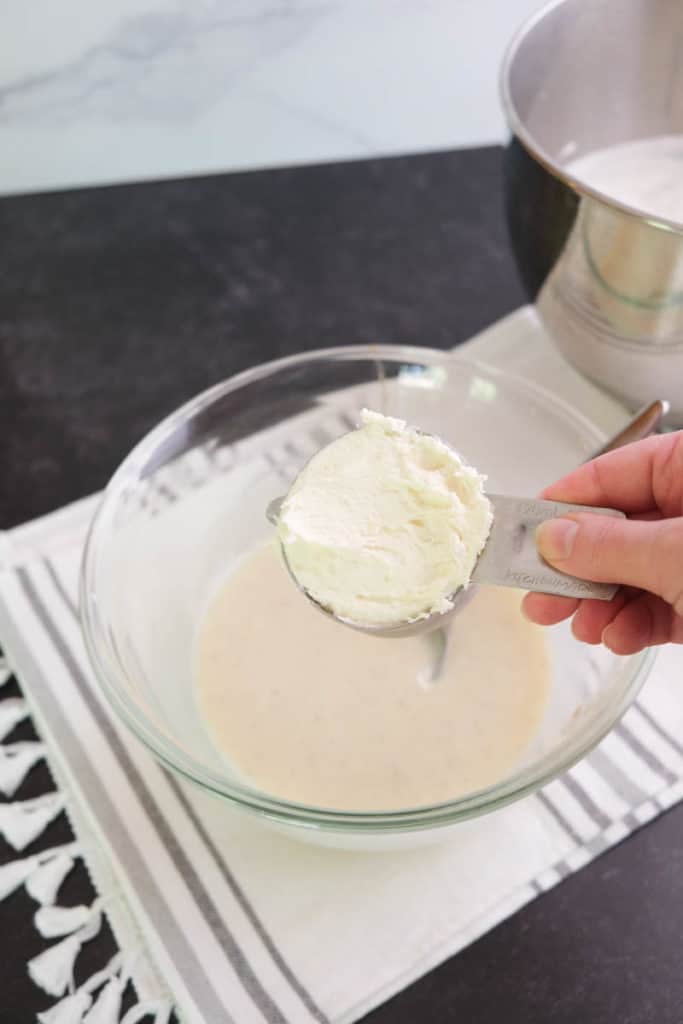
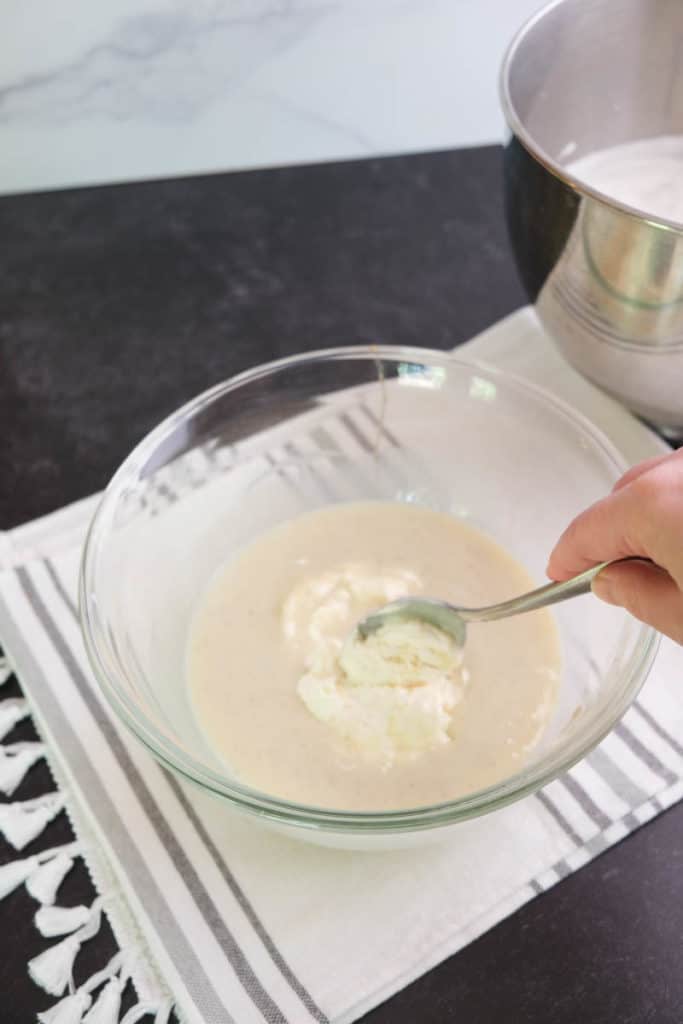
The next step is to add the clotted cream and mix well. Use smooth clotted cream if at all possible. If you have chunky bits in your clotted cream, smash them down with a spoon as much as you can.
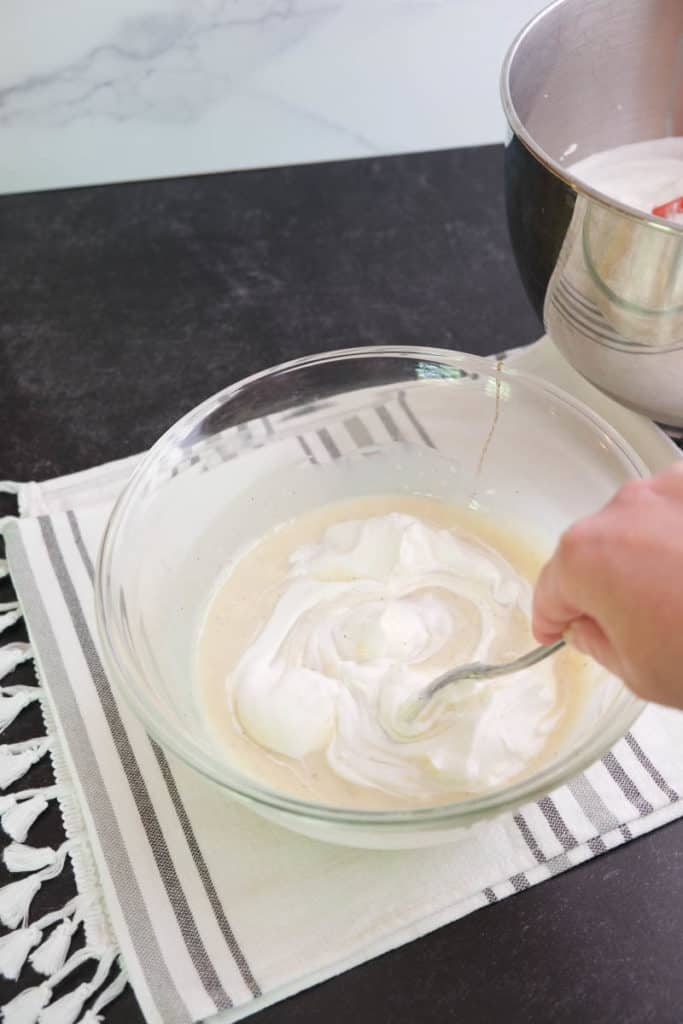
When the heavy cream has formed stiff peaks, plop some into the bowl and gently fold it into the milk. Continue carefully folding the rest of the whipped cream into the milk. Make sure everything is well blended but try not to deflate the whipped cream too much.
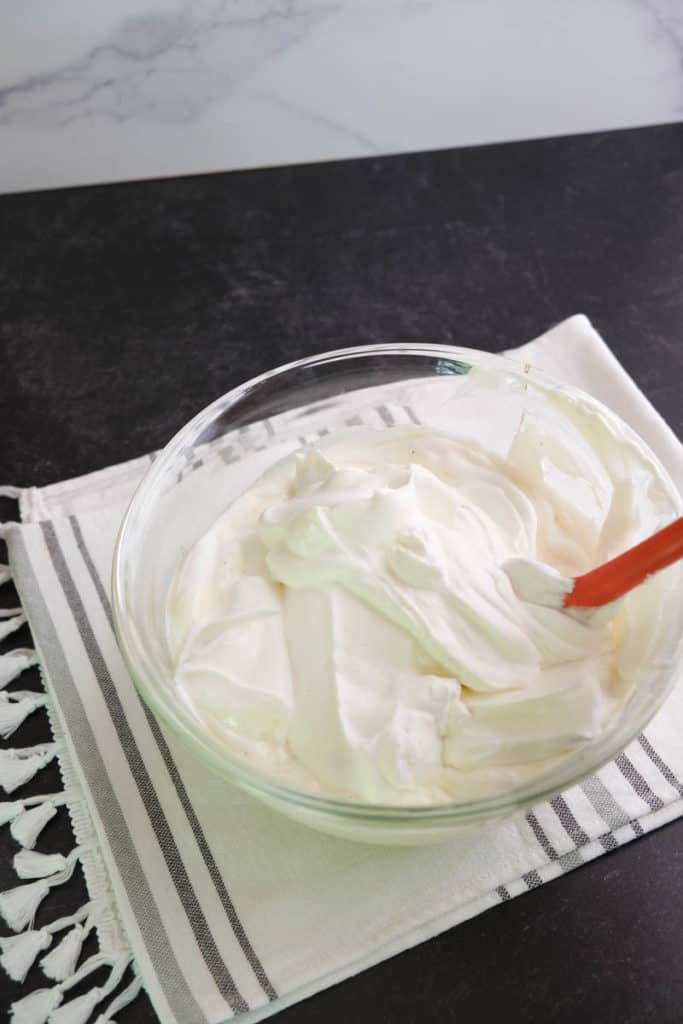
If you want to add anything to your ice cream, like lemon curd, jam, cookie bits, etc, do it now.
Then pour the ice cream into a container, secure the lid, and freeze until firm (usually four or so hours).
When you’re ready to enjoy your ice cream, take it out of the freezer and let it warm a bit before scooping. Be careful, though, it will melt quickly once scooped into a bowl! Enjoy your clotted cream ice cream as is or top with fresh raspberry sauce (yuuum), lemon curd (SO good!) or the topping of your choice. Enjoy!
Clotted Cream Ice Cream

This easy and deliciously rich and smooth no
churn ice cream is perfect for all kinds of toppings!
Ingredients
- 2 cups [480 g] heavy cream
- 1 cup [300-350 g] sweetened condensed milk (or golden syrup, honey or other sweetener)
- 1 cup [245 g] milk
- ¼ teaspoon salt
- 2 teaspoon vanilla extract
- ½ cup [115 g] clotted cream
Instructions
- Whip heavy cream to stiff peaks.
- Meanwhile, pour milk, sweetened condensed
milk (or other sweetener), salt and vanilla extract into a medium sized mixing bowl. Stir well. - Add clotted cream and stir until well combined.
- Once the heavy cream has reached the stiff peaks stage, carefully fold a scoop of cream into the milk. Then fold the rest of the whipped cream into the milk until combined (but don't totally deflate the whipped cream).
- Pour ice cream into an ice cream container, cover tightly, and add freeze for at least 4 hours.
- When you're ready to serve the ice cream, let it stand for a few minutes before scooping. Caution: once scooped the ice cream
will melt quickly!