How to Make European Style Cultured Butter
This article may contain affiliate links. See our disclosure link for more information.
Delicious, creamy, rich European style butter…easy to make and so worth making from scratch. The secret? Culture the cream before churning the butter
I didn’t eat real butter on the regular until I moved to Germany as a teen. I love the rich taste and creamy texture of European style butter, and splurge on it every once in a while in the US.
But now that I know how to make cultured butter from scratch, I guarantee it will make a frequent appearance in my kitchen!
Making butter is a great project for those times when you want to get in the kitchen and make something but you don’t want anything sweet or filled with sugar.
It takes 24-48 hours to culture the cream (but it’s all hands-off time) and about 15-20 minutes to churn and wash the butter. I highly recommend taking the time to culture your cream before making butter so you get that more complex, tangy taste. But if you’re in a hurry, you can skip the culturing step and simply make sweet cream butter instead.
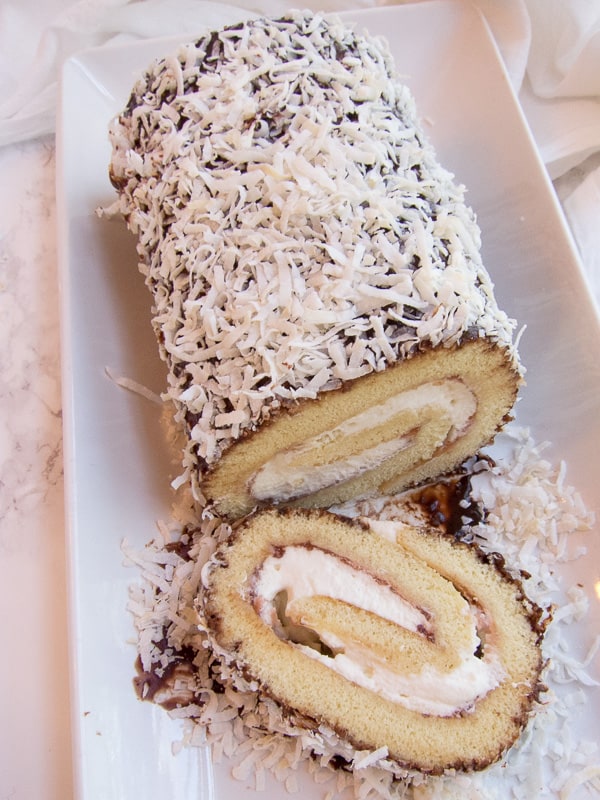
What goes with homemade butter? Homemade bread! Try it on Currant Scones, Irish Soda Bread or German Raisin Buns.
Ok, let’s make some butter!
What You Need to Make Cultured Butter
Ingredients:
- Heavy cream (not ultra-pasteurized, use organic if you can)
- Buttermilk (not ultra-pasteurized, without gums or stabilizers, use organic if you can)
Note – I always use buttermilk to culture my cream but I’ve read that plain yogurt, plain Quark, sour cream or crème frâche will work, too. - Ice & water
- Salt (optional)
Kitchen Tools
- Jar
- Tea towel or cheesecloth
- Thin spatula (one that will fit in the jar)
- Stand or hand mixer
- Medium-sized mixing or batter bowl
- Butter dish with lid, bowl or plate and plastic wrap or parchment paper
How to Make Cultured European Style Butter
Recipe notes:
- It takes 24-48 hours to culture the cream and 15-20 minutes to churn and wash the butter.
- To make sweet cream butter, just skip the culturing step.
- You can make this butter with or without salt.
- The longer you culture the cream, the stronger the flavor.
- This recipe makes about 6oz (170g) of butter and 1 cup buttermilk.
- You can halve, double or triple this recipe.
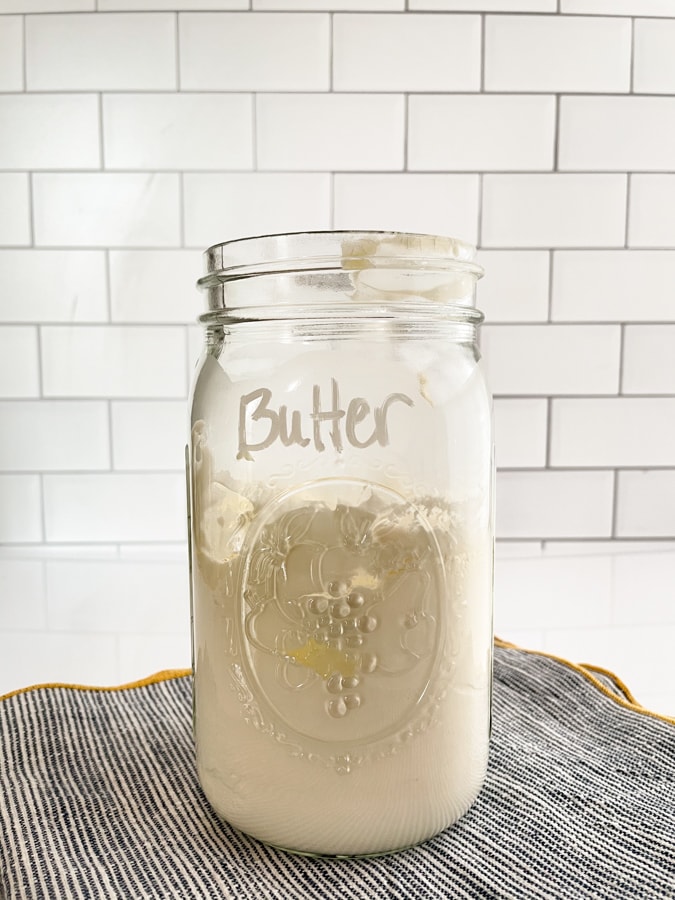
The first step is to culture the butter. To do that, pour the heavy cream into a jar, add the buttermilk, and stir to combine.
As I noted above, I always use buttermilk to culture my cream but I’ve read that you can use plain yogurt, plain Quark, sour cream or crème frâche.
Place a tea towel or cheesecloth over the jar and leave at room temperature for 24-48 hours. When the cream has thickened and smells/tastes tangy, it’s ready to churn. (If you plan to churn the cream later, place it in the fridge.)
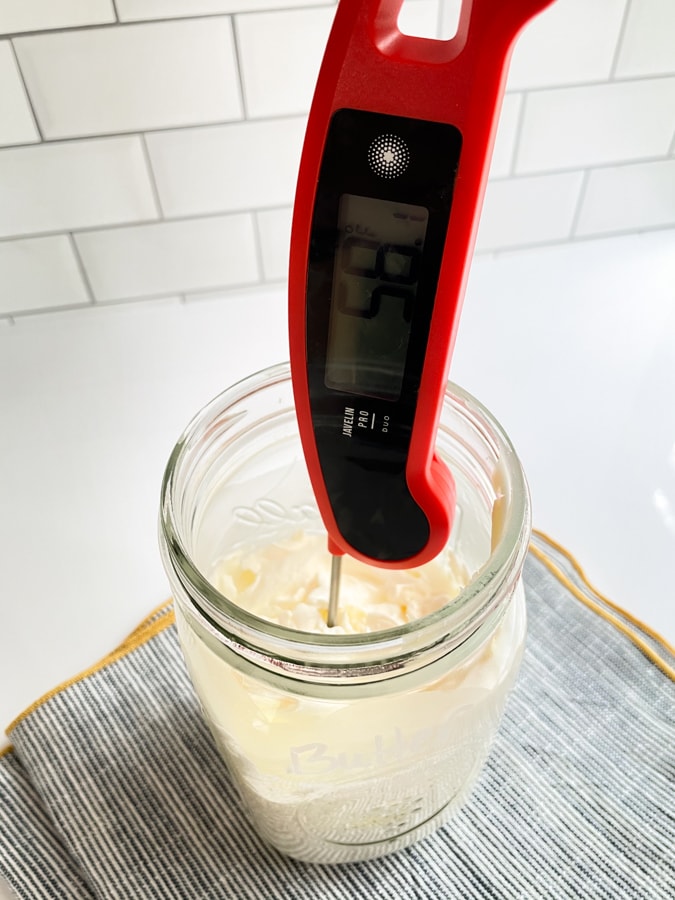
When you’re ready to churn the cream, let it warm (or cool) to right around 60F / 15C.
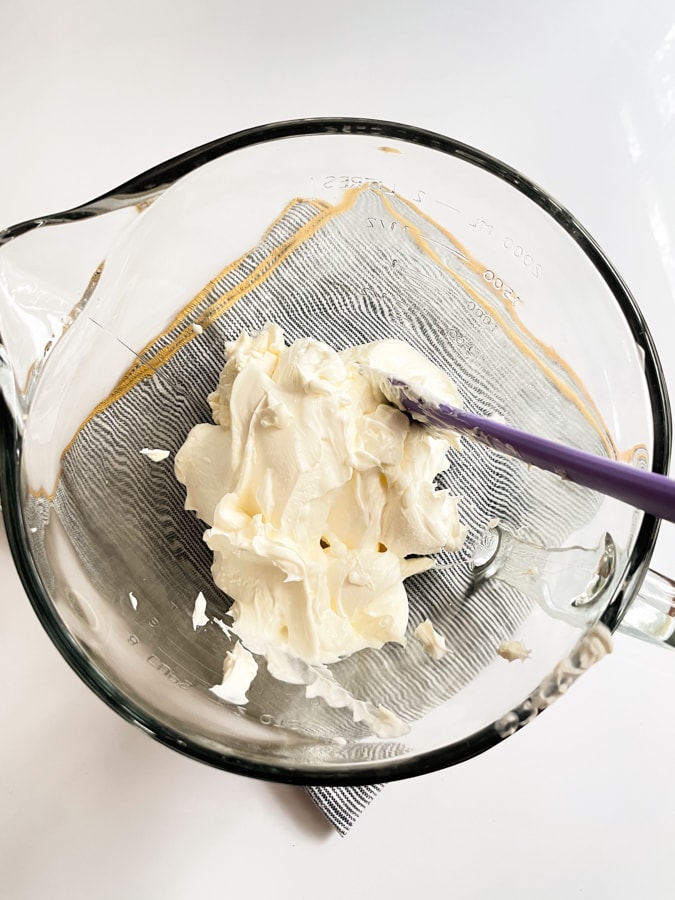
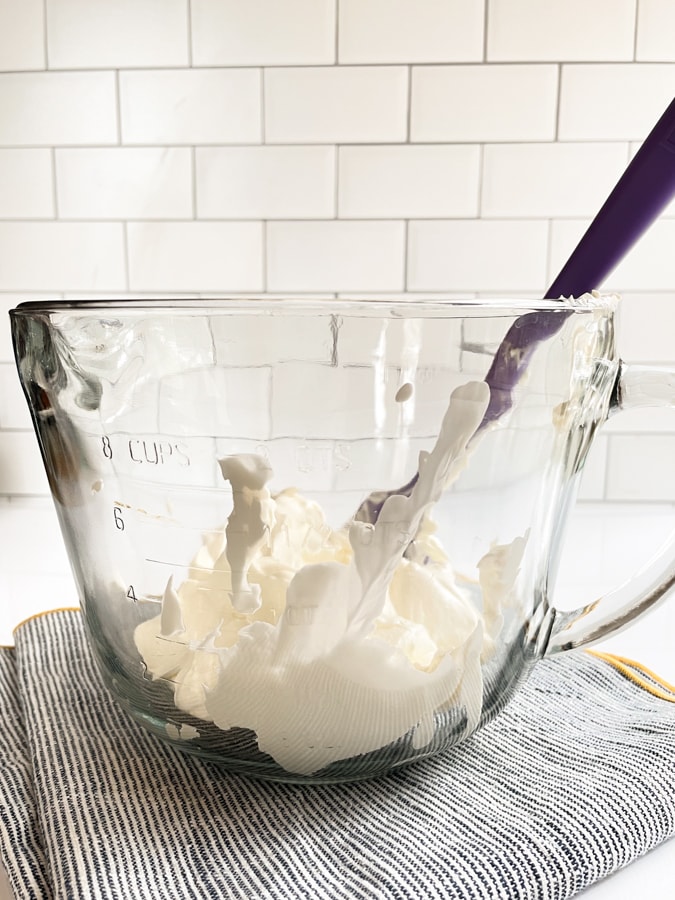
Use a thin spatula to scoop the cream into a bowl. To beat the cream, you can use a stand mixer or a hand mixer. I’ve used both and they both work well. I recently replaced my very old hand mixer with this Breville and I’m kinda in love with it, so I used it to make my butter (I’ve been using it every chance I get because I love it so much).
So now you’re going to turn that cultured cream into butter! Turn the mixer on low and then slowly up up to high. Be careful because the cream will splatter if you turn it up too quickly. You can also place a towel over the mixing bowl to contain splatters.
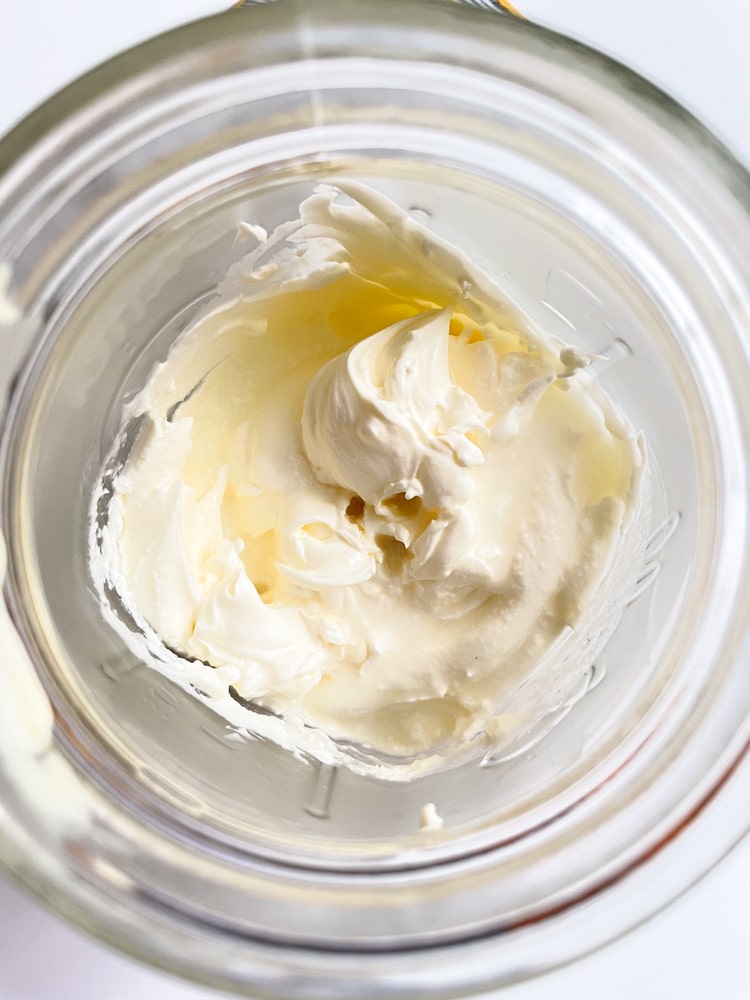
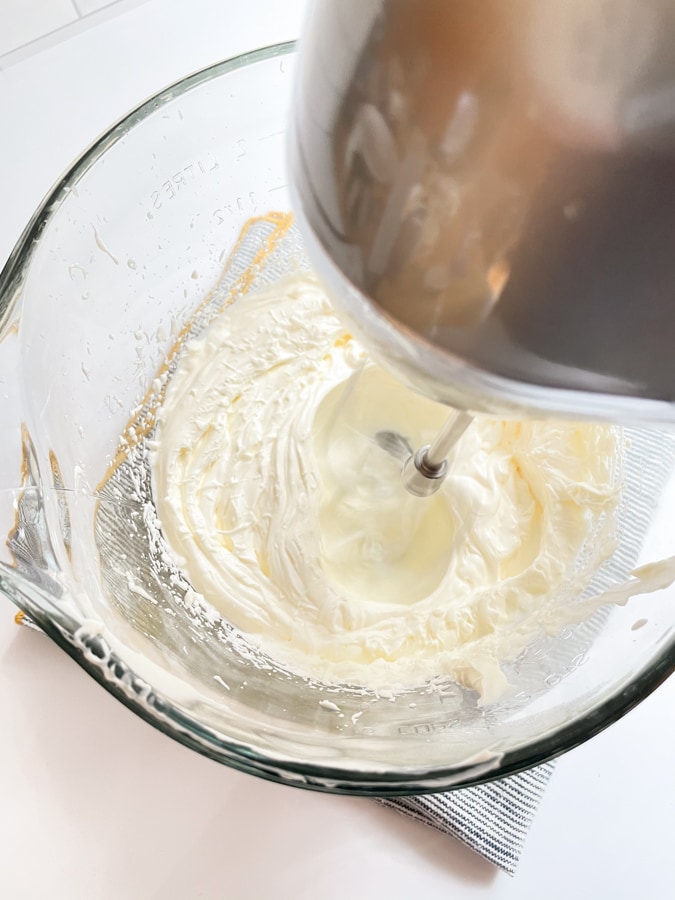
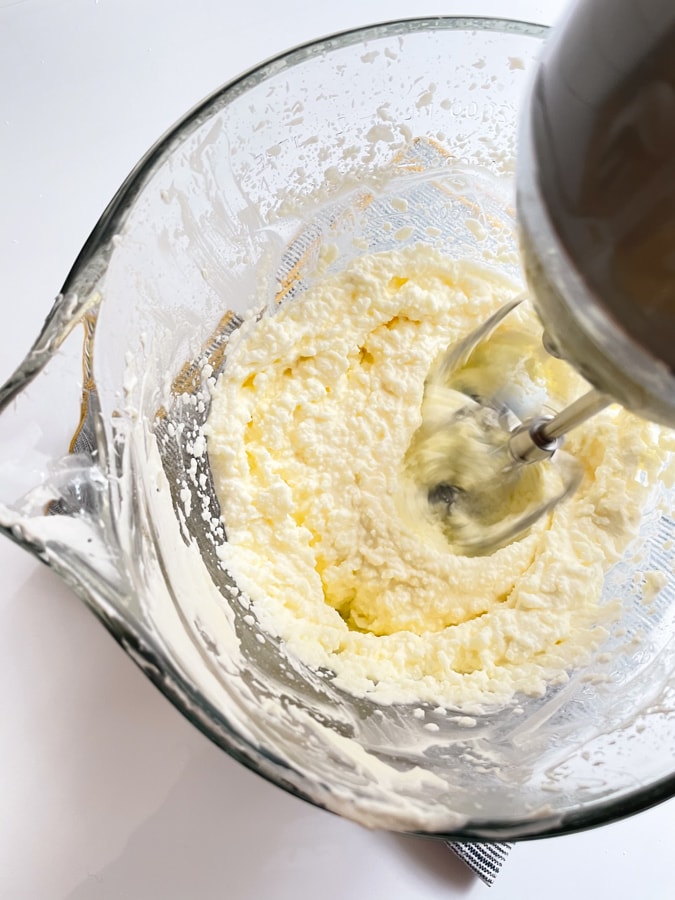
As you beat the cream, it will form soft peaks, then stiff peaks, then it will start turning yellow and will look like it’s curdling. Turn the mixer down to low and beat until the cream breaks.
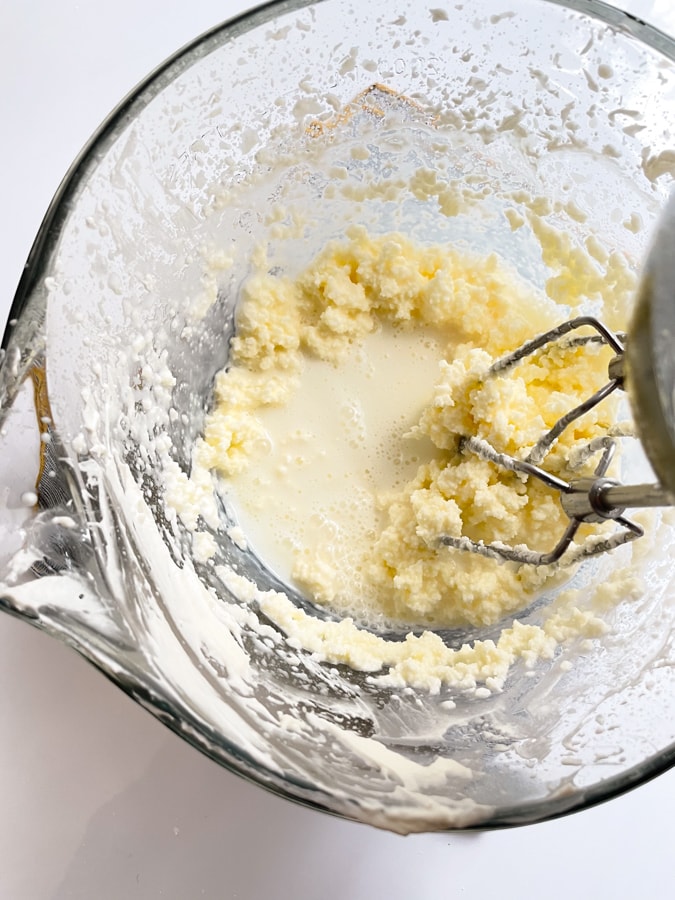
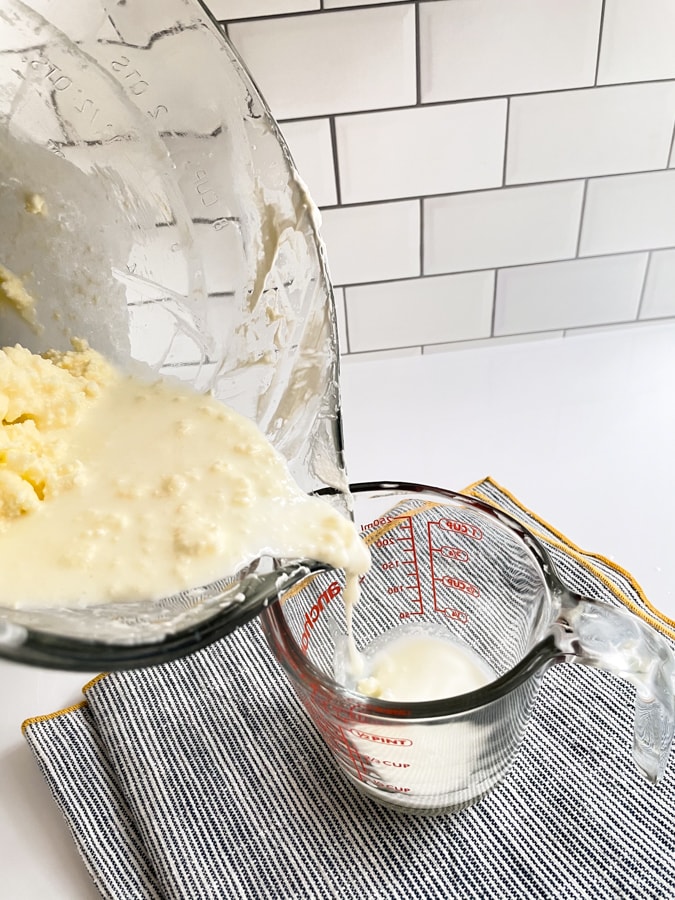
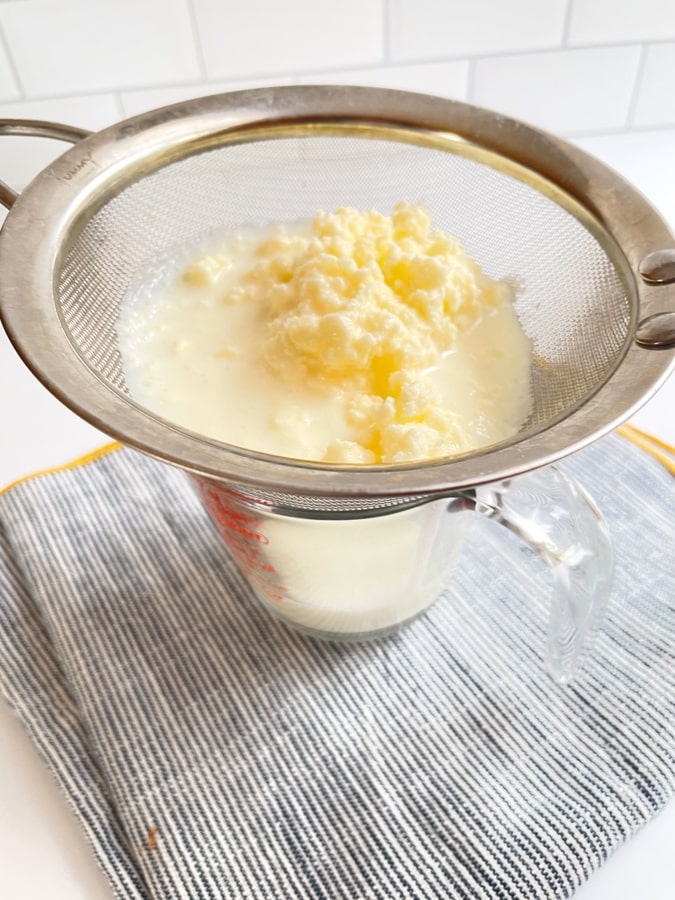
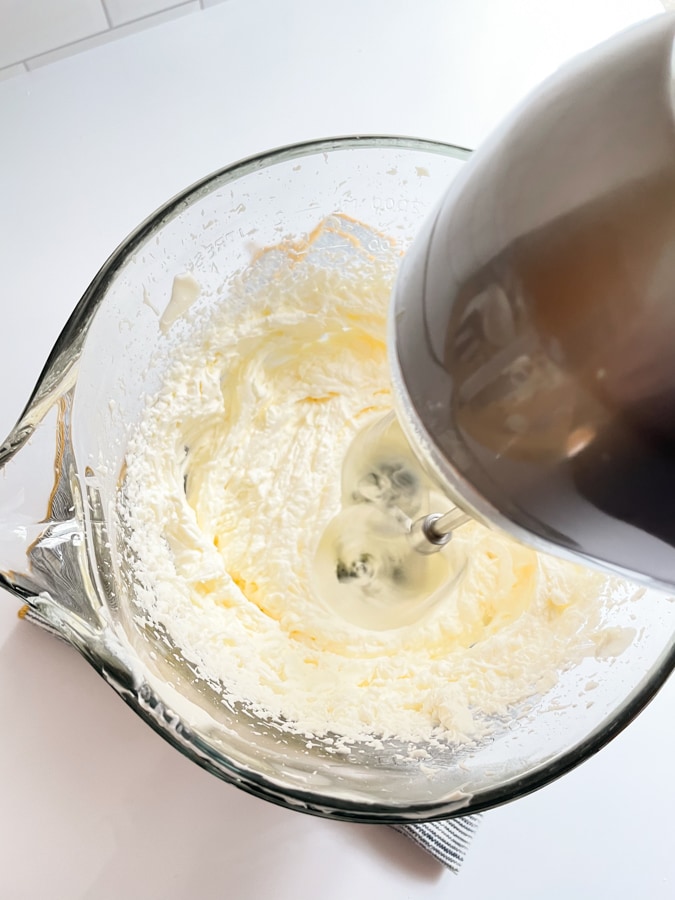
Pour the buttermilk into a jar to use later. To do this you can either just carefully pour off the buttermilk or use a sieve.
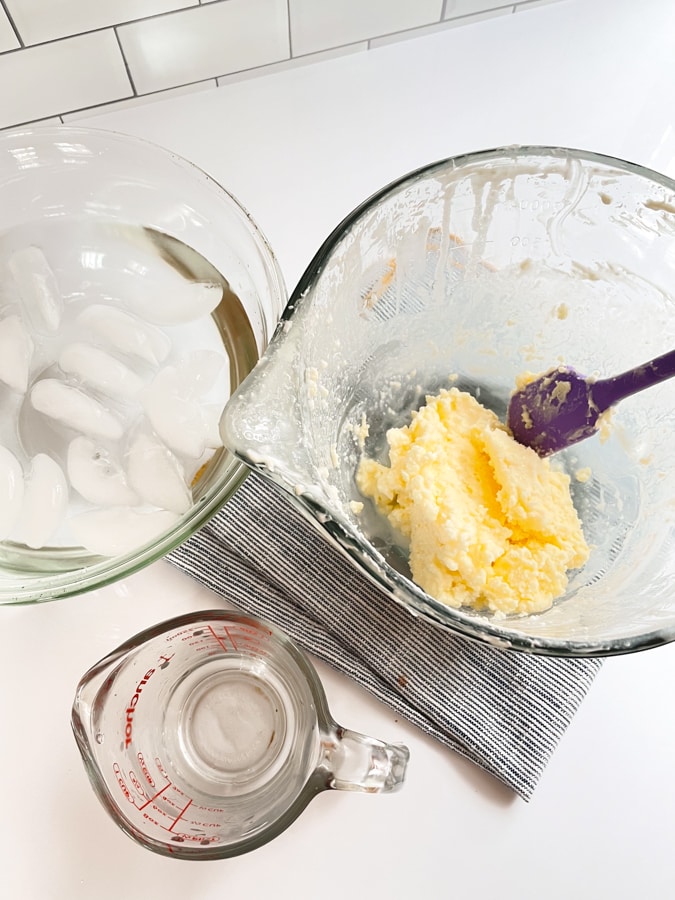


The next step is washing the butter (helps prevent it from spoiling). To do this, add water and ice cubes to a bowl. Pour a half cup of cold water over the butter. Use a spatula to kind of knead or press the butter against the side of the bowl. Doing this will get the rest of the buttermilk out of the butter.
When the water turns cloudy (it will happen pretty quickly the first few times), drain it off and repeat the process until the water remains clear. I typically was my butter 4 times before the water remains clear.
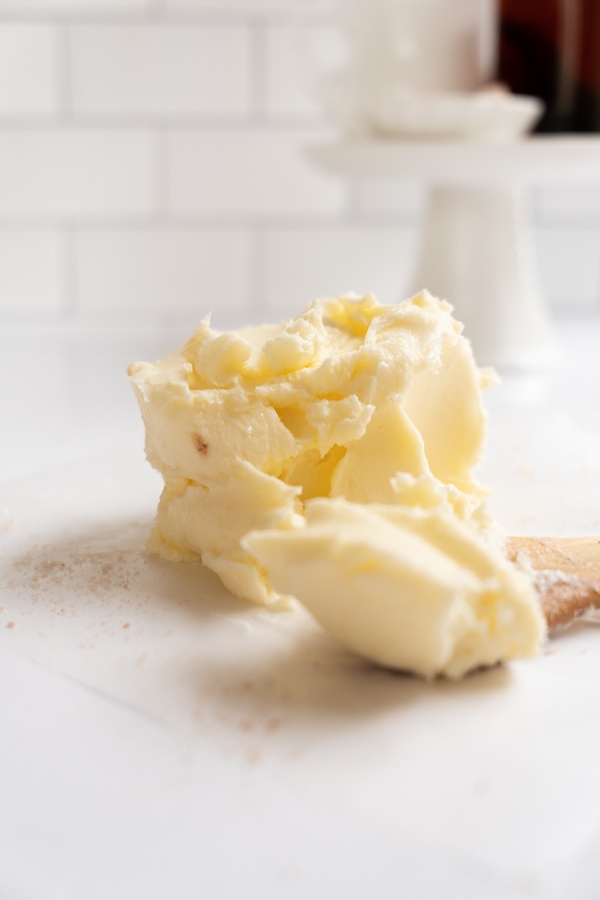
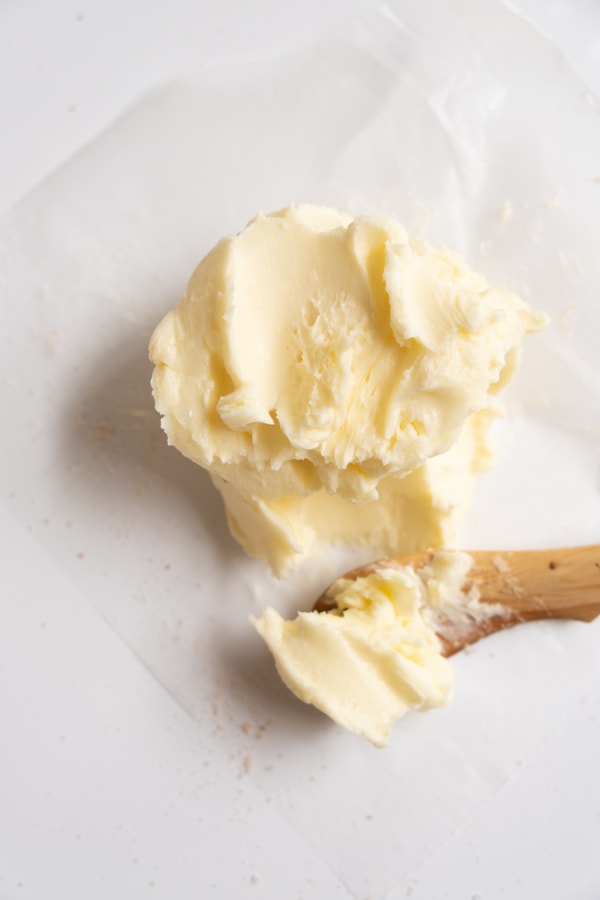
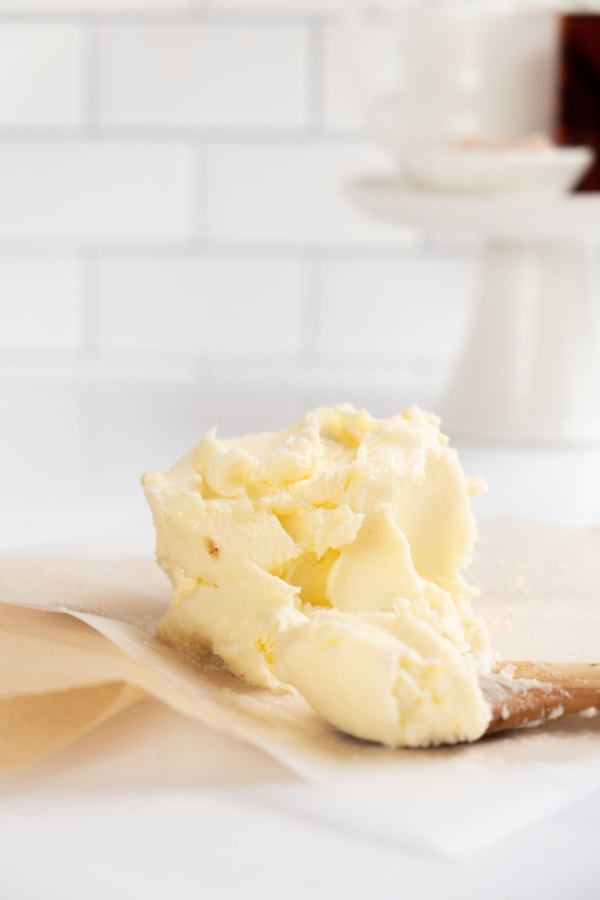
Finally, press the butter against the side of the bowl several more times to get as much of the water out as possible.
If you want to add salt, do it now. Use the spatula to mix it into the butter.
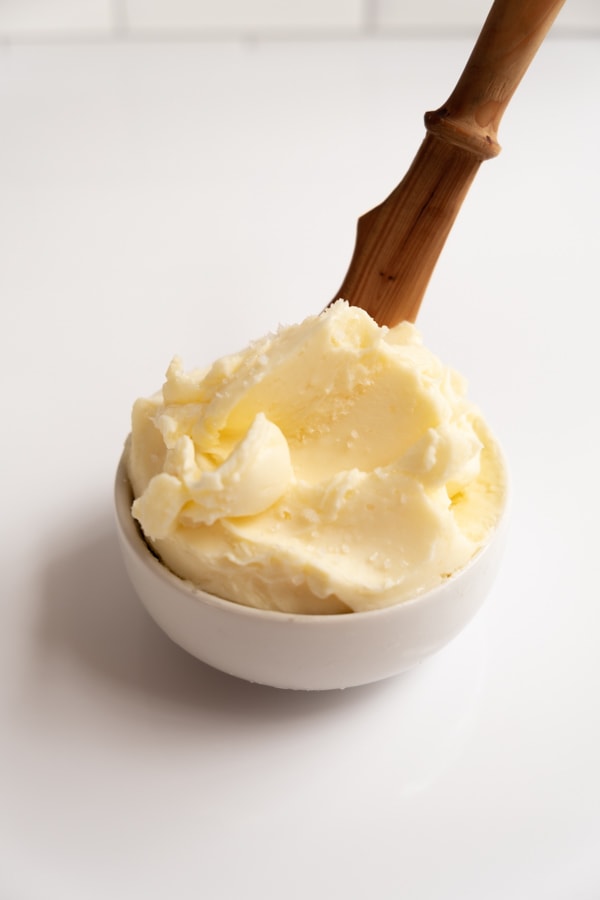
Place your cultured butter in a storage container (e.g., a butter dish, plastic or glass container with a lid, parchment paper, etc) and store in the fridge. Enjoy your homemade cultured butter!
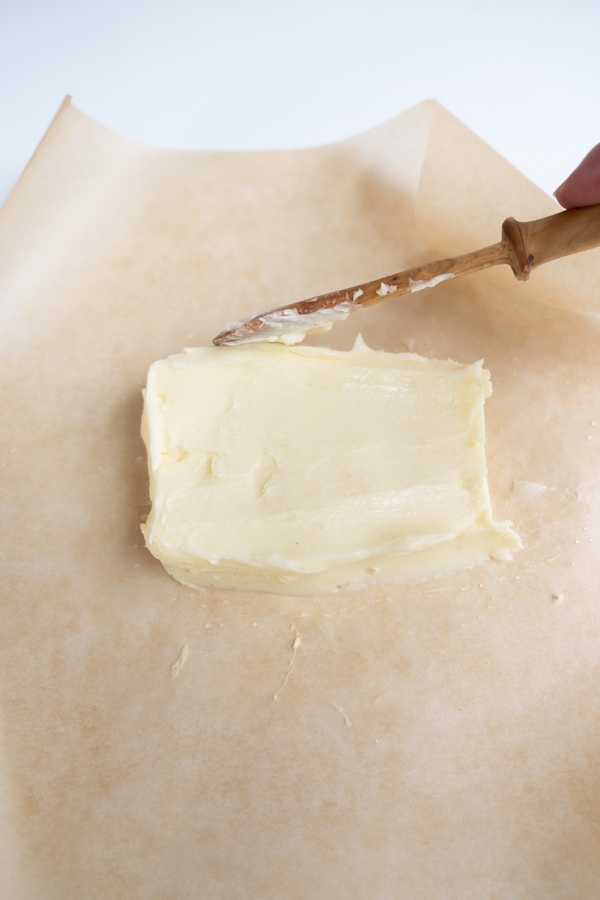

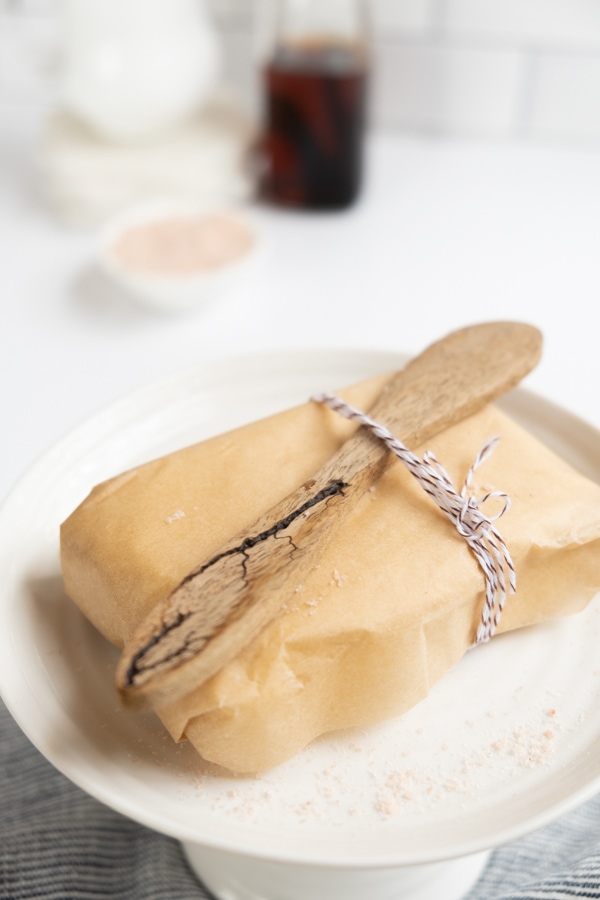
If you want to make a fun gift, shape and then wrap your butter in parchment paper. Add some pretty twine around the butter and add a butter knife (the one below is a wooden butter knife I picked up in Germany a few years ago, and the one in the photo at the beginning of this post is a wooden knife that was given to me when visiting a friend’s family in Sweden 25 years ago!).
Cultured European Style Butter
It's easy to make rich and creamy European style cultured butter at home!
Ingredients
- 4 Cups [32 oz / 960ml] heavy cream (not ultra-pasteurized)
- 1/3 Cup [75g] buttermilk, without gums or stabilizers (see note below)
- 4 Cups [900ml] cold water
- 1 Cup [150g] ice
- 1/4 tsp Salt (kosher, sea salt or even fleur de sel, optional)
Instructions
- To culture the cream, mix buttermilk and heavy cream in a glass jar. Cover loosely with a towel and let the jar sit in at room temperature for 24-48 hours. When the cream has thickened and tastes a bit tangy, it's ready to churn.
- Before churning the cream, make sure the cream is about 60F/15C.
- Using a stand or hand mixer, beat cream until it forms stiff peaks. Start on low to prevent splatters, then turn up to high. When the cream begins to look curdled, turn the mixer down to low. Stop when the cream has separated.
- Drain off as much of the buttermilk as possible (pour into a jar so you can use it later).
- Mix the ice with the water. Pour 1/2 cup of the cold water over the butter. Use a spatula to press or knead the butter against the side of the bowl. When the water becomes cloudy (it will happen quickly the first few times), drain the liquid. Then repeat the process with another 1/2 cup of water. Repeat until the water remains clear (3-5 times).
- Knead the butter against the side of the bowl a few more times to get as much water out of the butter as possible.
- If you'd like salted butter, mix in salt to taste.
- Store butter in an air tight container or wrap tightly in parchment paper. Use the butter within a week.
Notes
I use buttermilk to culture my cream but you can also try whole, plain yogurt, sour cream or crème frâiche - if it has live cultures, it should work.

I love real butter and excited to make this. My question is which type of yoghurt and how much.
Real butter is the BEST! And fun to make, too. I always use buttermilk but if you try using yogurt I’d use plain, full fat, natural, organic yogurt without added ingredients. Try using the same amount that’s indicated for the buttermilk. Let me know how it turns out!
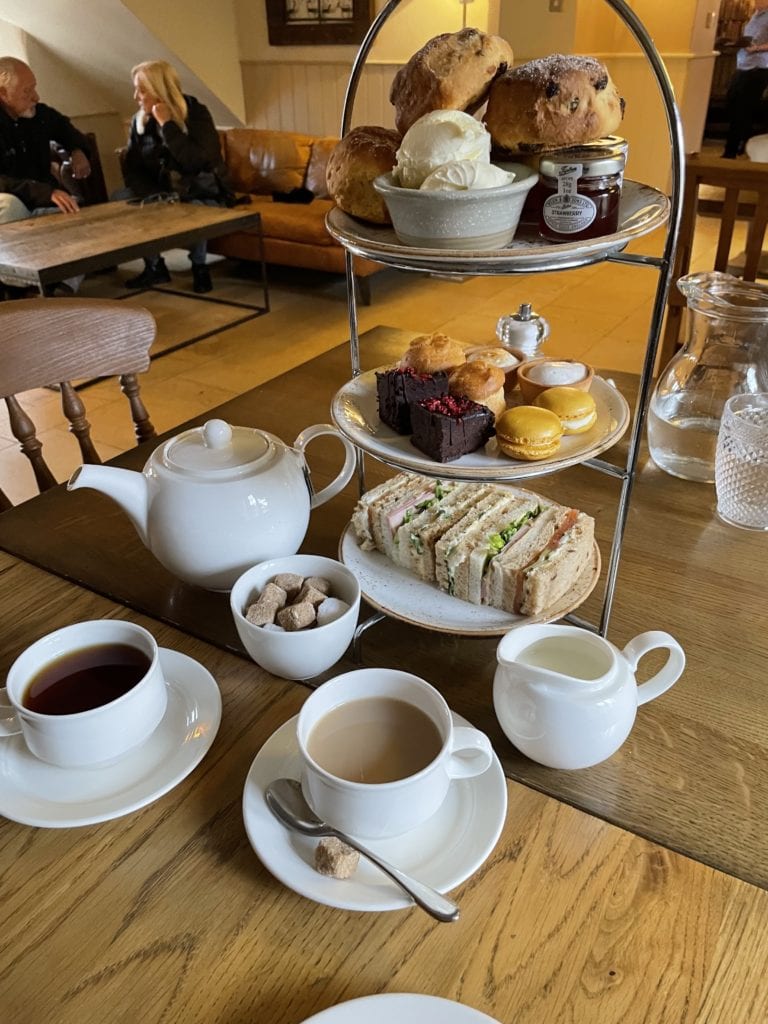
Wow! I made this recipe for Easter, and paired it with some fresh british style scones. The butter was incredible, super easy, and delicious! My butter turned out thick, creamy, moldable, and such a pretty yellow! I halved the recipe, and it turned out great.
I’m so glad you liked it! Cultured butter is the BEST!
Also, I have a quick question. Could I flavor this butter? Like with honey or rosemary or garlic? If I were to do that, would i mix it in after I do the ice bath? hand mix or whip it? Would whipping it take away from the thick and clay like texture?
You can definitely add a flavoring. I’d mix it in just after doing the ice bath, it won’t take too much mixing to get the flavor incorporated. You could mix by hand or with a mixer, just mix on low until it’s just incorporated (or just smush it in with your clean hands).
Sounds worth doing but where are you sourcing the heavy cream and buttermilk that is not ultra pasteurized? Especially if there are no local dairies around my area. Thanks!
I had to look at a lot of stores to find it! 🙂 Unfortunately, the local dairy that made the BEST cream and buttermilk for making butter, clotted cream, etc, shut down last year so I started a new search. It’s not always easy to find. I’ve had luck with brands at my local co-op, Whole Foods (Organic Valley), and every once in a while one of our regular grocery stores.
Would you say this is similar to Kerry gold butter?
It’s been a while since I’ve had Kerrygold so I can’t confirm that the taste is exactly the same but it’s probably similar.